Pixinsight tools for astrophotographers

Lighthouse Suite, set of Pixinsight scripts, modules, and tutorials developed for faster image processing.

Featured script

Lighthouse

Lighthouse is a finishing panel for already stretched, non-linear Pixinsight images. It brings familiar tonal and color controls into one place so astrophotographers can work faster without jumping between separate processes.

pixinsight lightroom workflow

A Lightroom-like finishing panel for Pixinsight.

Lighthouse gives you familiar sliders for stretched, non-linear images: exposure, contrast, highlights, shadows, whites, blacks, saturation, vibrance, texture, clarity, dehaze, midtone contrast, and white balance. The point is simple: make final tweaks in one place, with preview modes and optional luminosity-mask protection when you need it.

  • For stretched, non-linear astro images
  • Familiar tonal and color sliders in one panel
  • Luminosity masks for lights and darks
  • Fast preview, full-res preview, and Apply & Continue

If you are unfamiliar what this means click on this link.
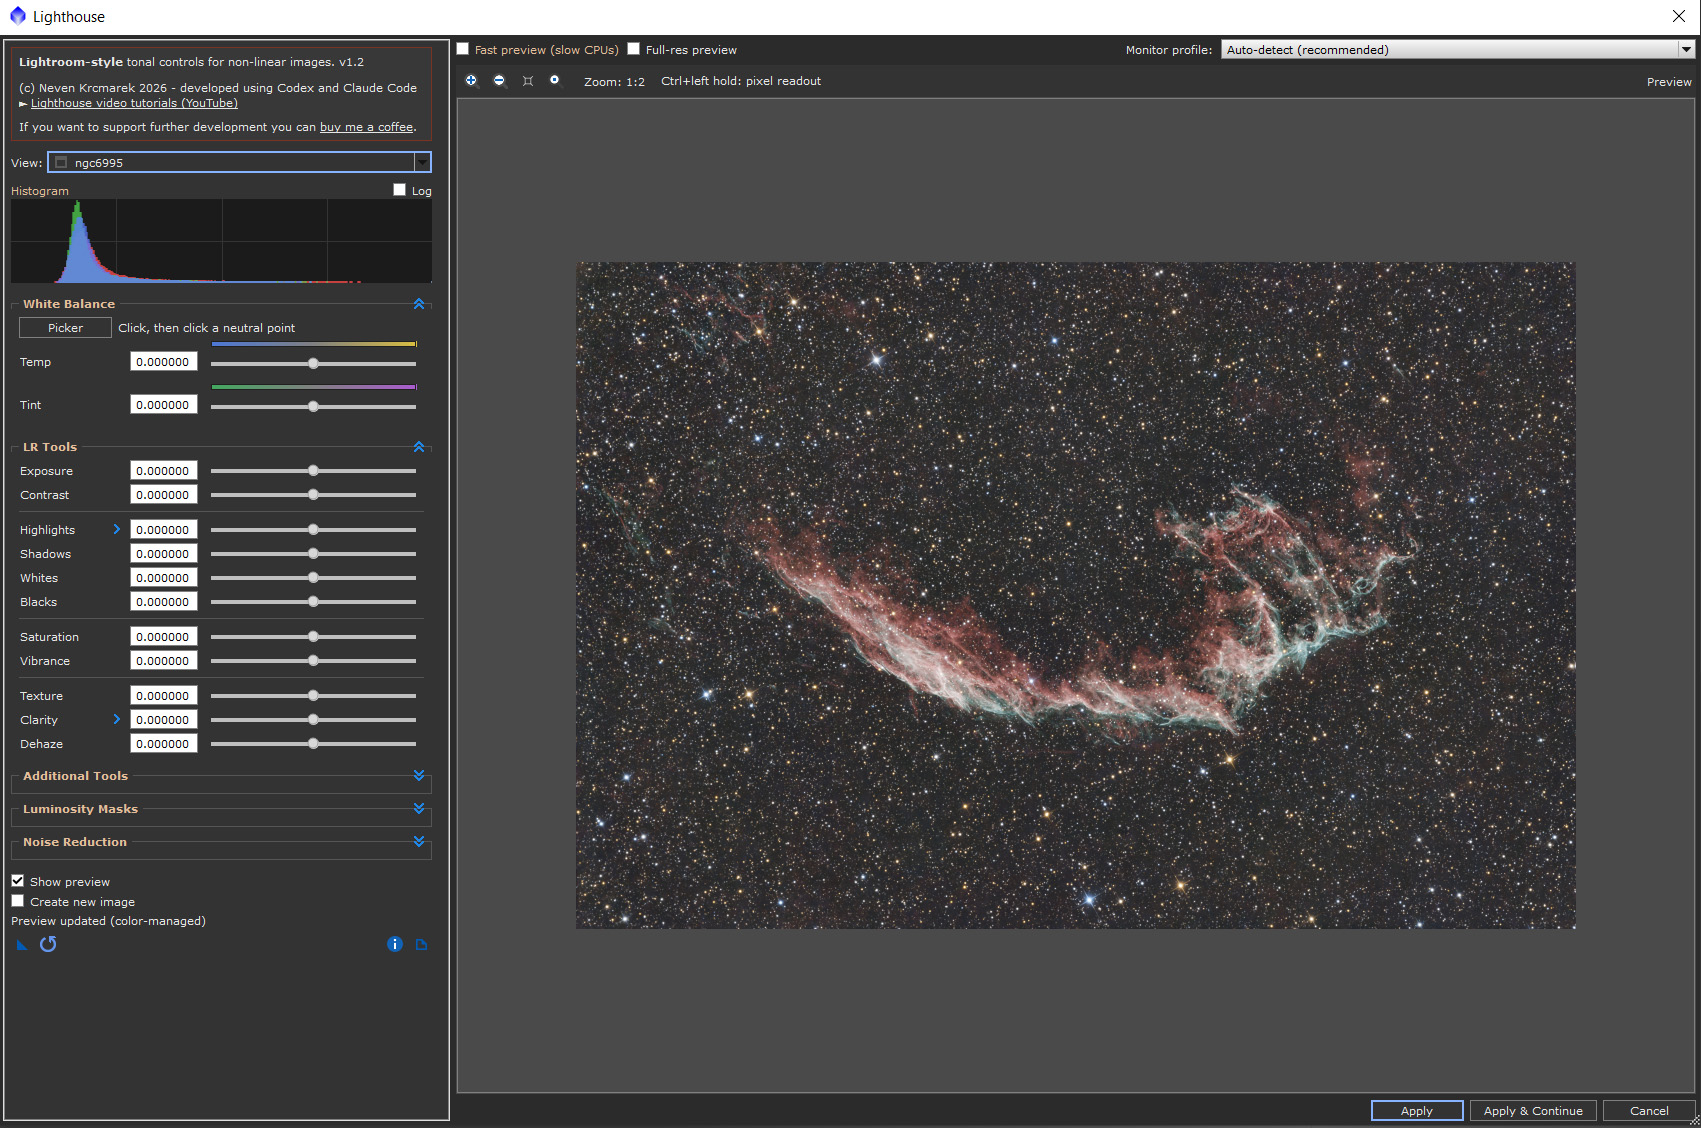
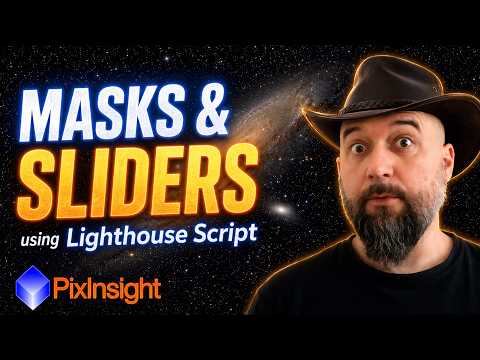
Lighthouse PixInsight script interface with Lightroom-style controls and image preview
Lighthouse interface preview

PixInsight script

NB Extract

NB Extract is a PixInsight script that separates the two emission lines recorded through a dual-band filter — most commonly Hα and [O III] — from a single one-shot-color image. By measuring how your camera and filter mix light from calibrated stars, it produces clean, independently extracted Hα and [O III] images.

pixinsight script narrowband

Dual-band channel extraction calibrated from your own star data.

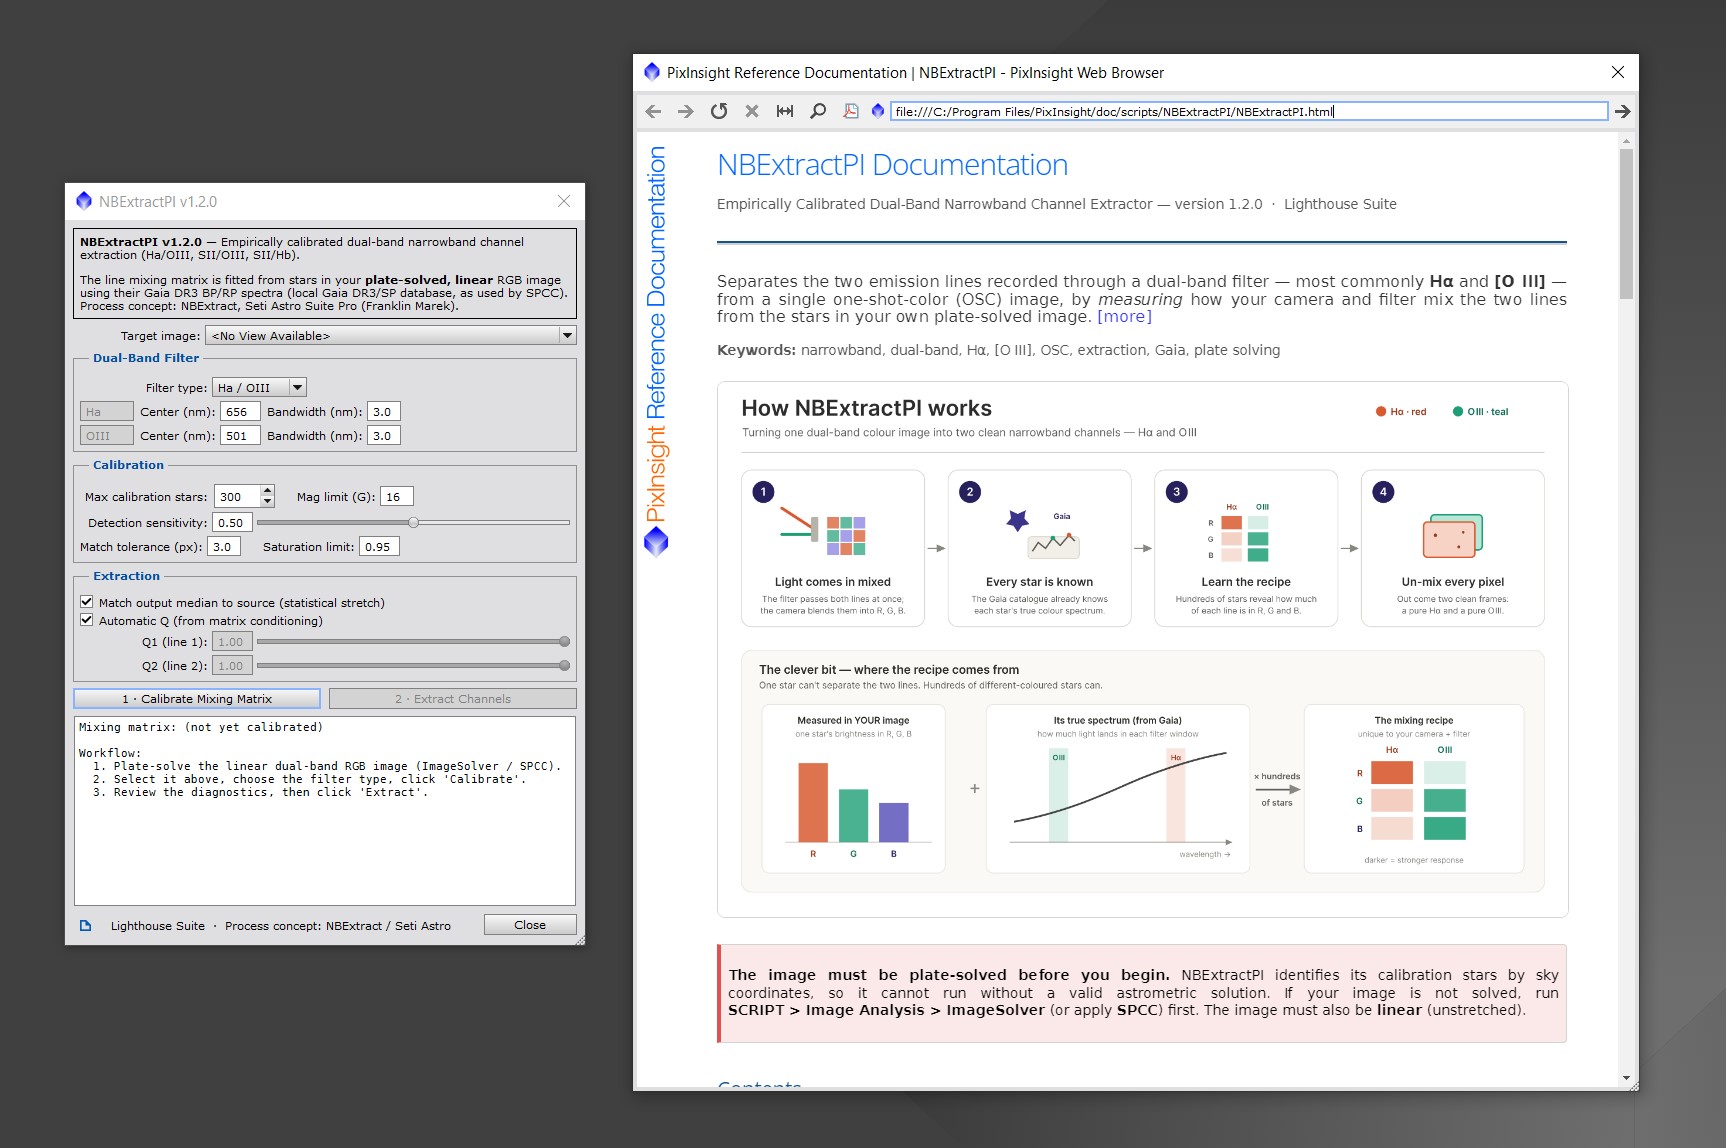
NB Extract doesn't guess how your equipment splits channels — it measures that mixing directly from the stars already in your plate-solved image. Using the Gaia DR3/SP catalog, it compares each star's true spectrum against what your camera recorded, building a personalized mixing matrix. The result is an un-mixing recipe applied to every pixel, recovering independent Hα and [O III] channels that adapt to your exact camera, filter, and optics.

  • Calibrated from your plate-solved image's actual stars (Gaia DR3/SP)
  • Separates Hα and [O III] — or SII/OIII, SII/Hβ, custom pairs
  • Works with dual-band OSC filters (L-eXtreme, L-Ultimate, ALP-T, ColorMagic, …)
  • Automatic Q tuning or manual refinement for cleanest results

After installing, run it under Scripts > Lighthouse Suite > NBExtractPI. If you are unfamiliar what this means click on this link.
NB Extract PixInsight script interface with filter selection, calibration options, and channel extraction controls
NB Extract interface preview

Video guides

NB Extract tutorials

Walkthroughs of the script, its calibration workflow, and tuning options.

Process module

LuminosityMasks

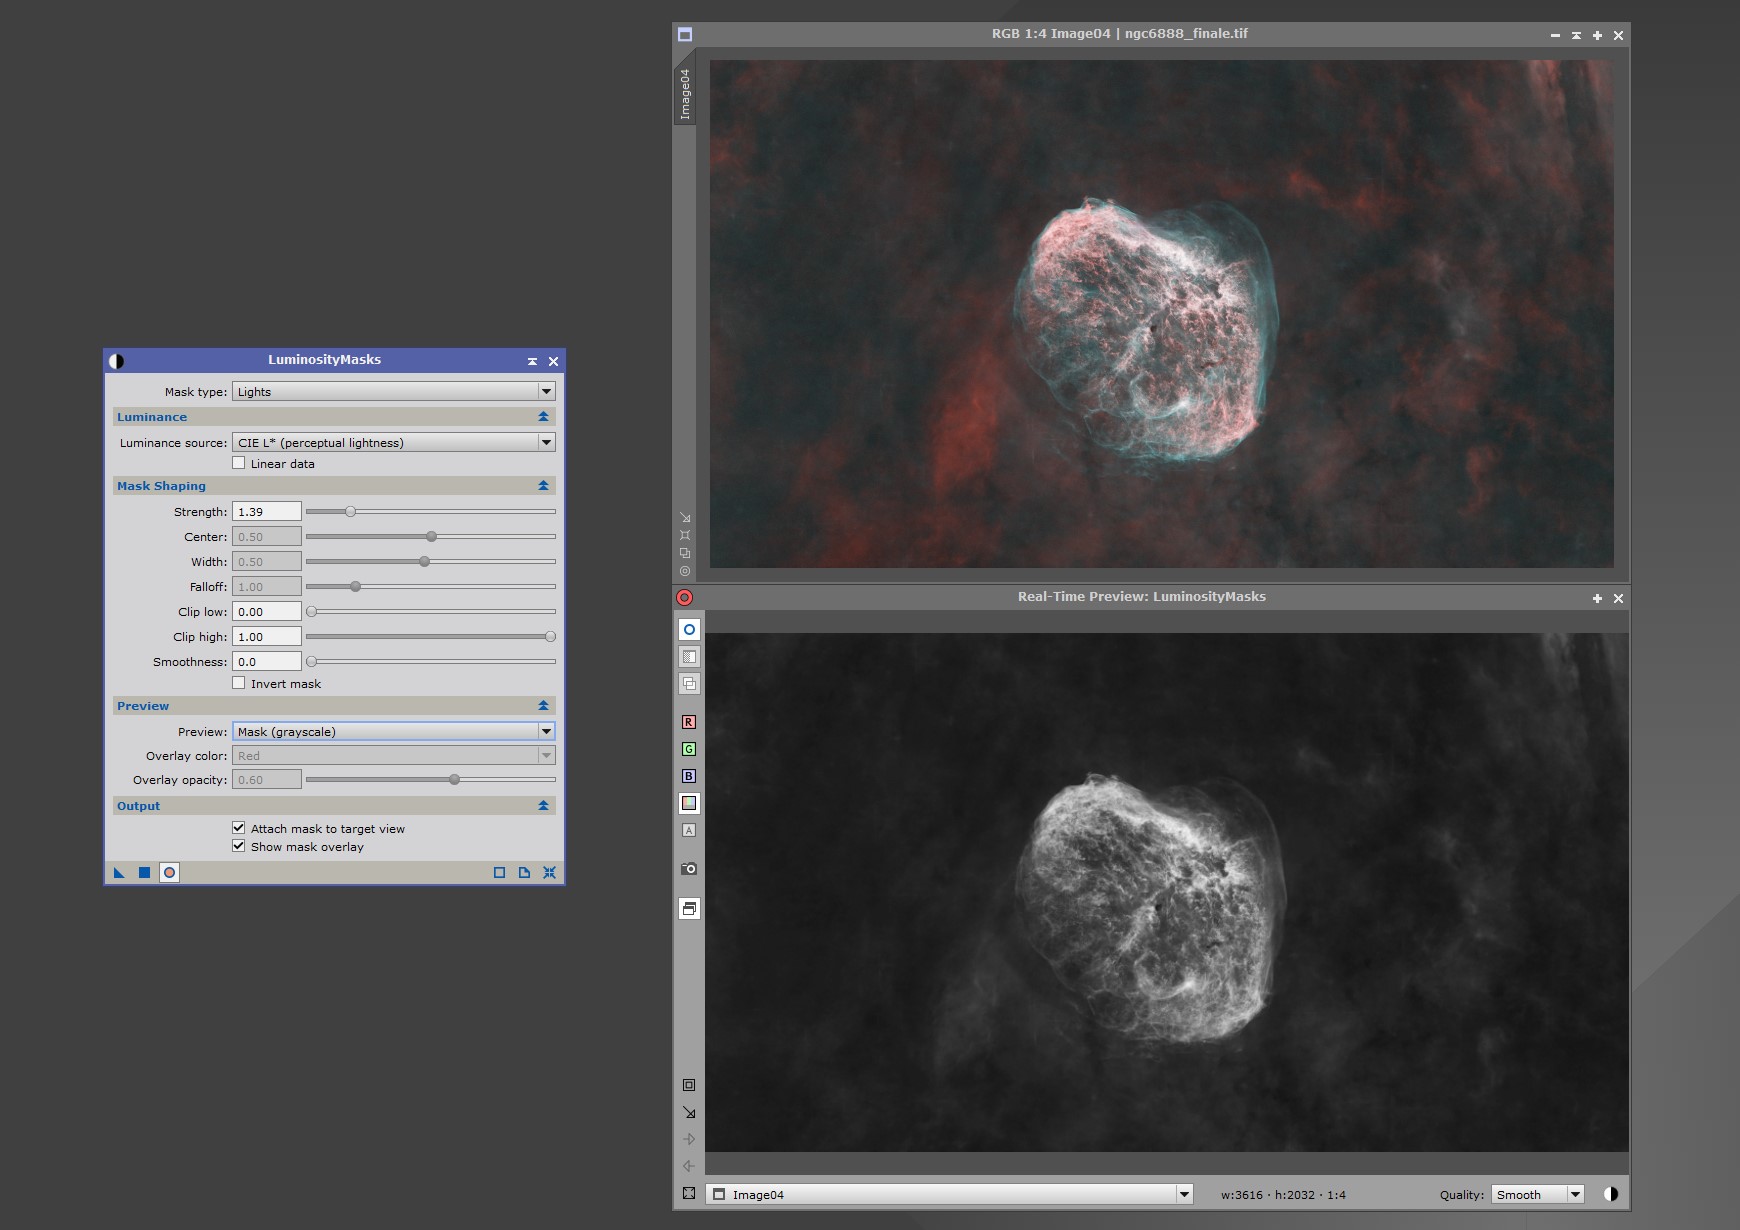
LuminosityMasks is a PixInsight process module for building luminance-based masks. It creates lights, darks, and midtone masks from a view and lets you shape them with live feedback, so you can target or protect exactly the tonal range you want.

pixinsight process module mask generation

Luminosity masks with a real-time preview.

Pick a mask type, choose the luminance source, then shape the mask with strength, center, width, falloff, clipping, and smoothness while the real-time preview updates as you work. The finished mask can be attached to the target view straight from the module, with the mask overlay shown right away.

  • Lights, darks, and midtone mask types
  • CIE L* perceptual lightness or linear data as source
  • Mask shaping: strength, center, width, falloff, clipping, smoothness
  • Real-time grayscale or colored overlay preview
  • Attach the mask to the target view in one click

After installing, you will find it in PixInsight under Processes > Mask Generation. If you are unfamiliar what this means click on this link.
LuminosityMasks PixInsight process module with mask shaping controls and a real-time grayscale mask preview
LuminosityMasks interface preview

Video guides

LuminosityMasks tutorials

Walkthroughs of the module, its mask types, and the shaping controls.

Process module

SpikelessAI

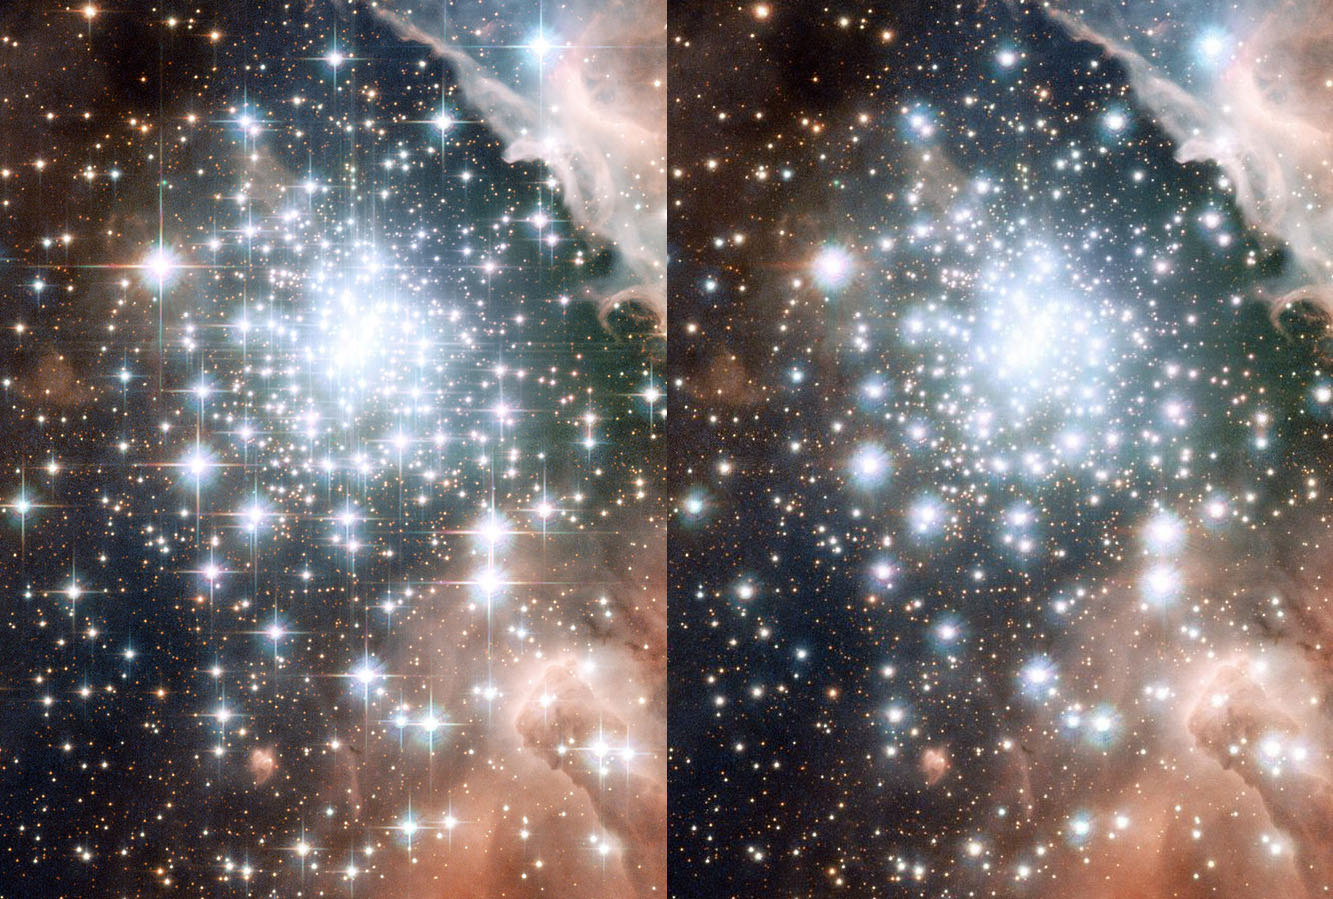
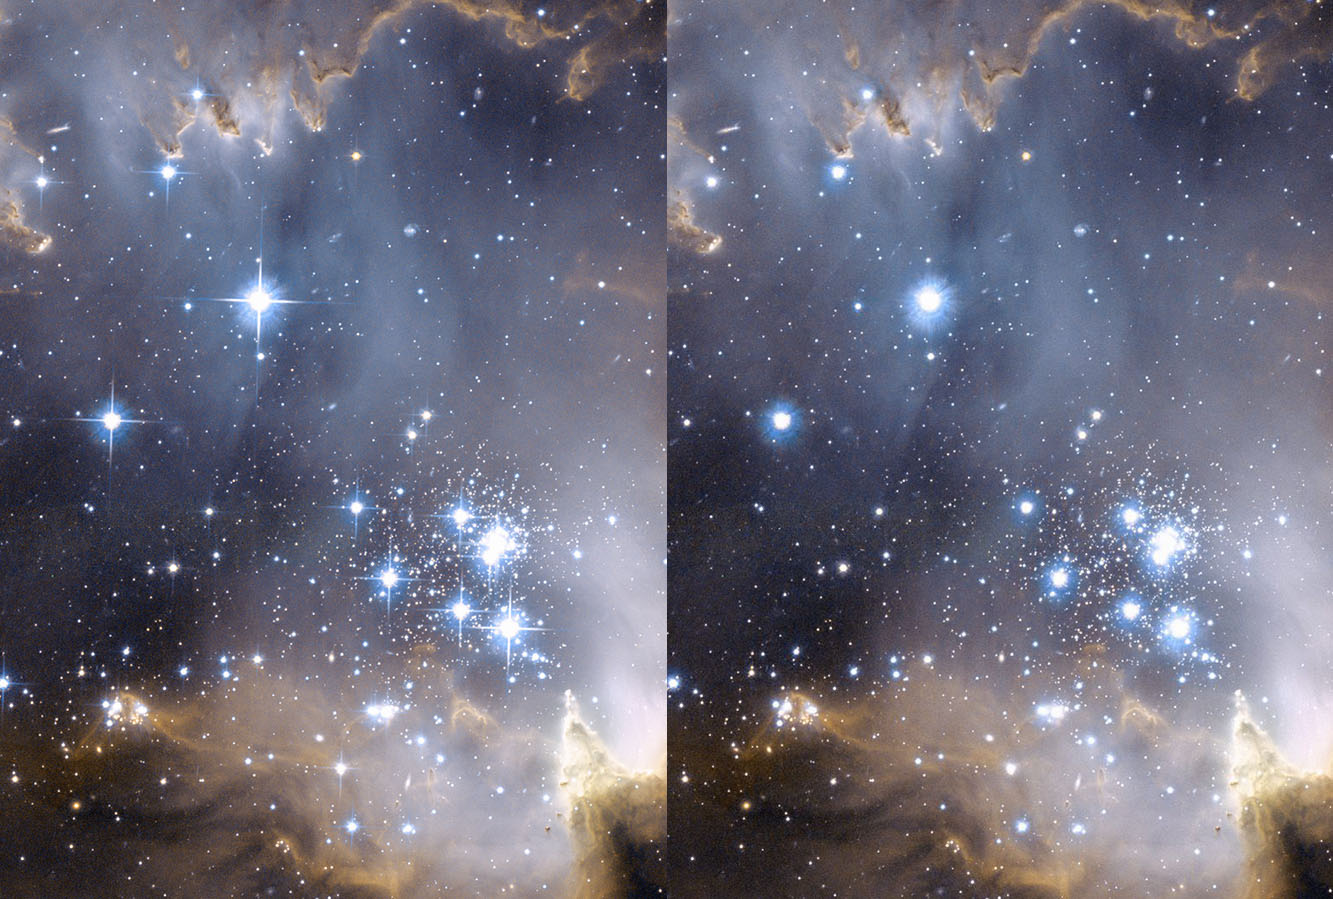
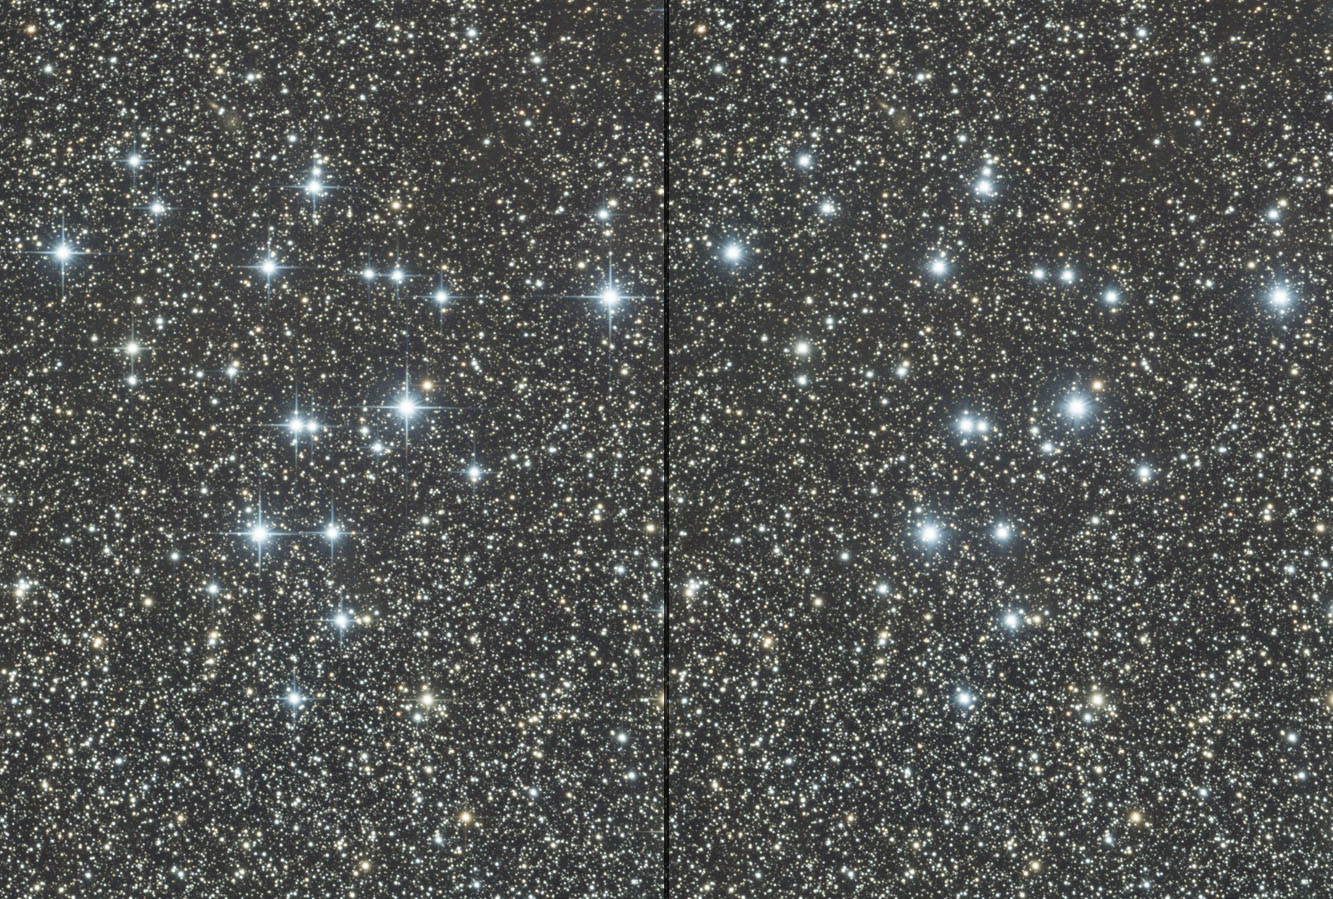
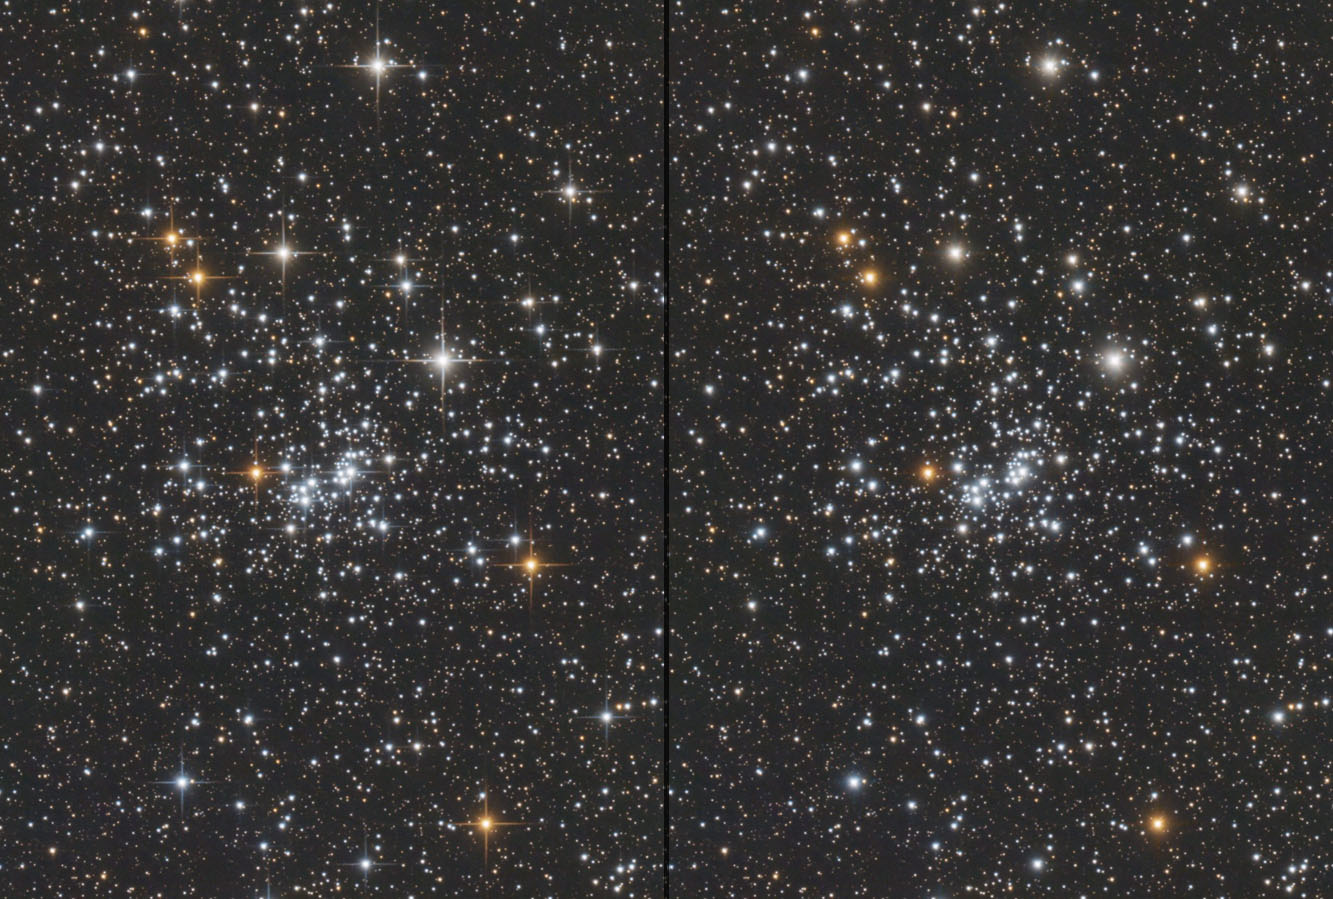
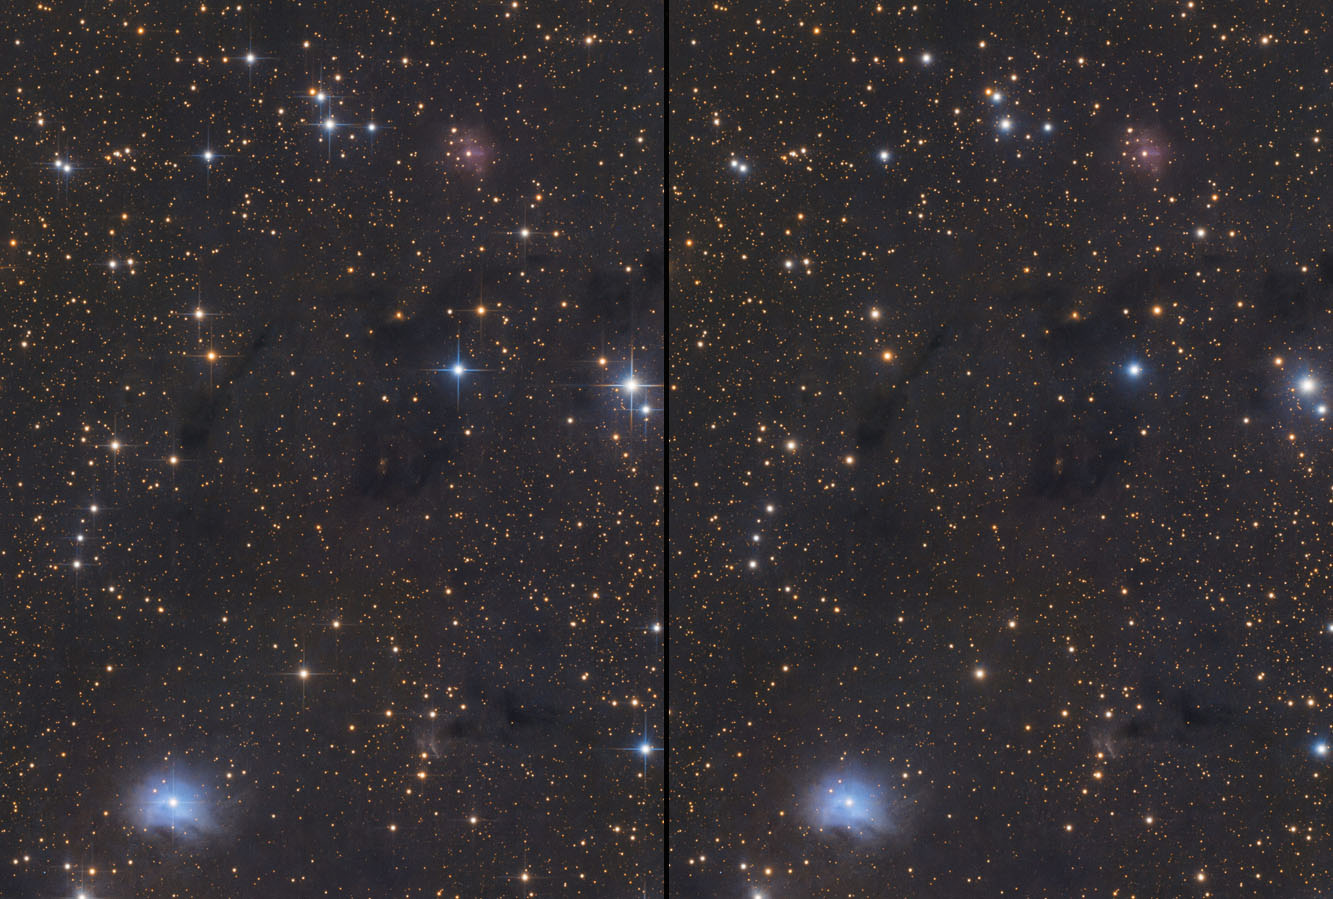
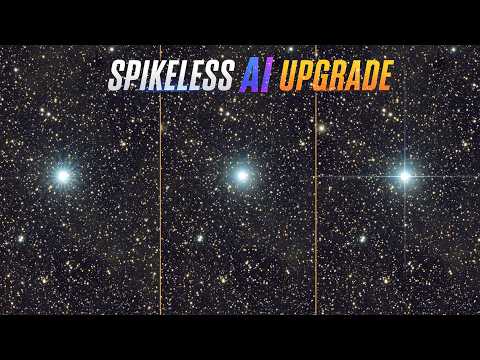
SpikelessAI is a PixInsight process module that uses AI to remove diffraction spikes from stars in astrophotography images. It's trained to reduce the spike structure while preserving natural star cores, halos, color, background detail, nebulae, and galaxies.

pixinsight process module diffraction spikes

AI diffraction-spike removal that keeps stars looking natural.

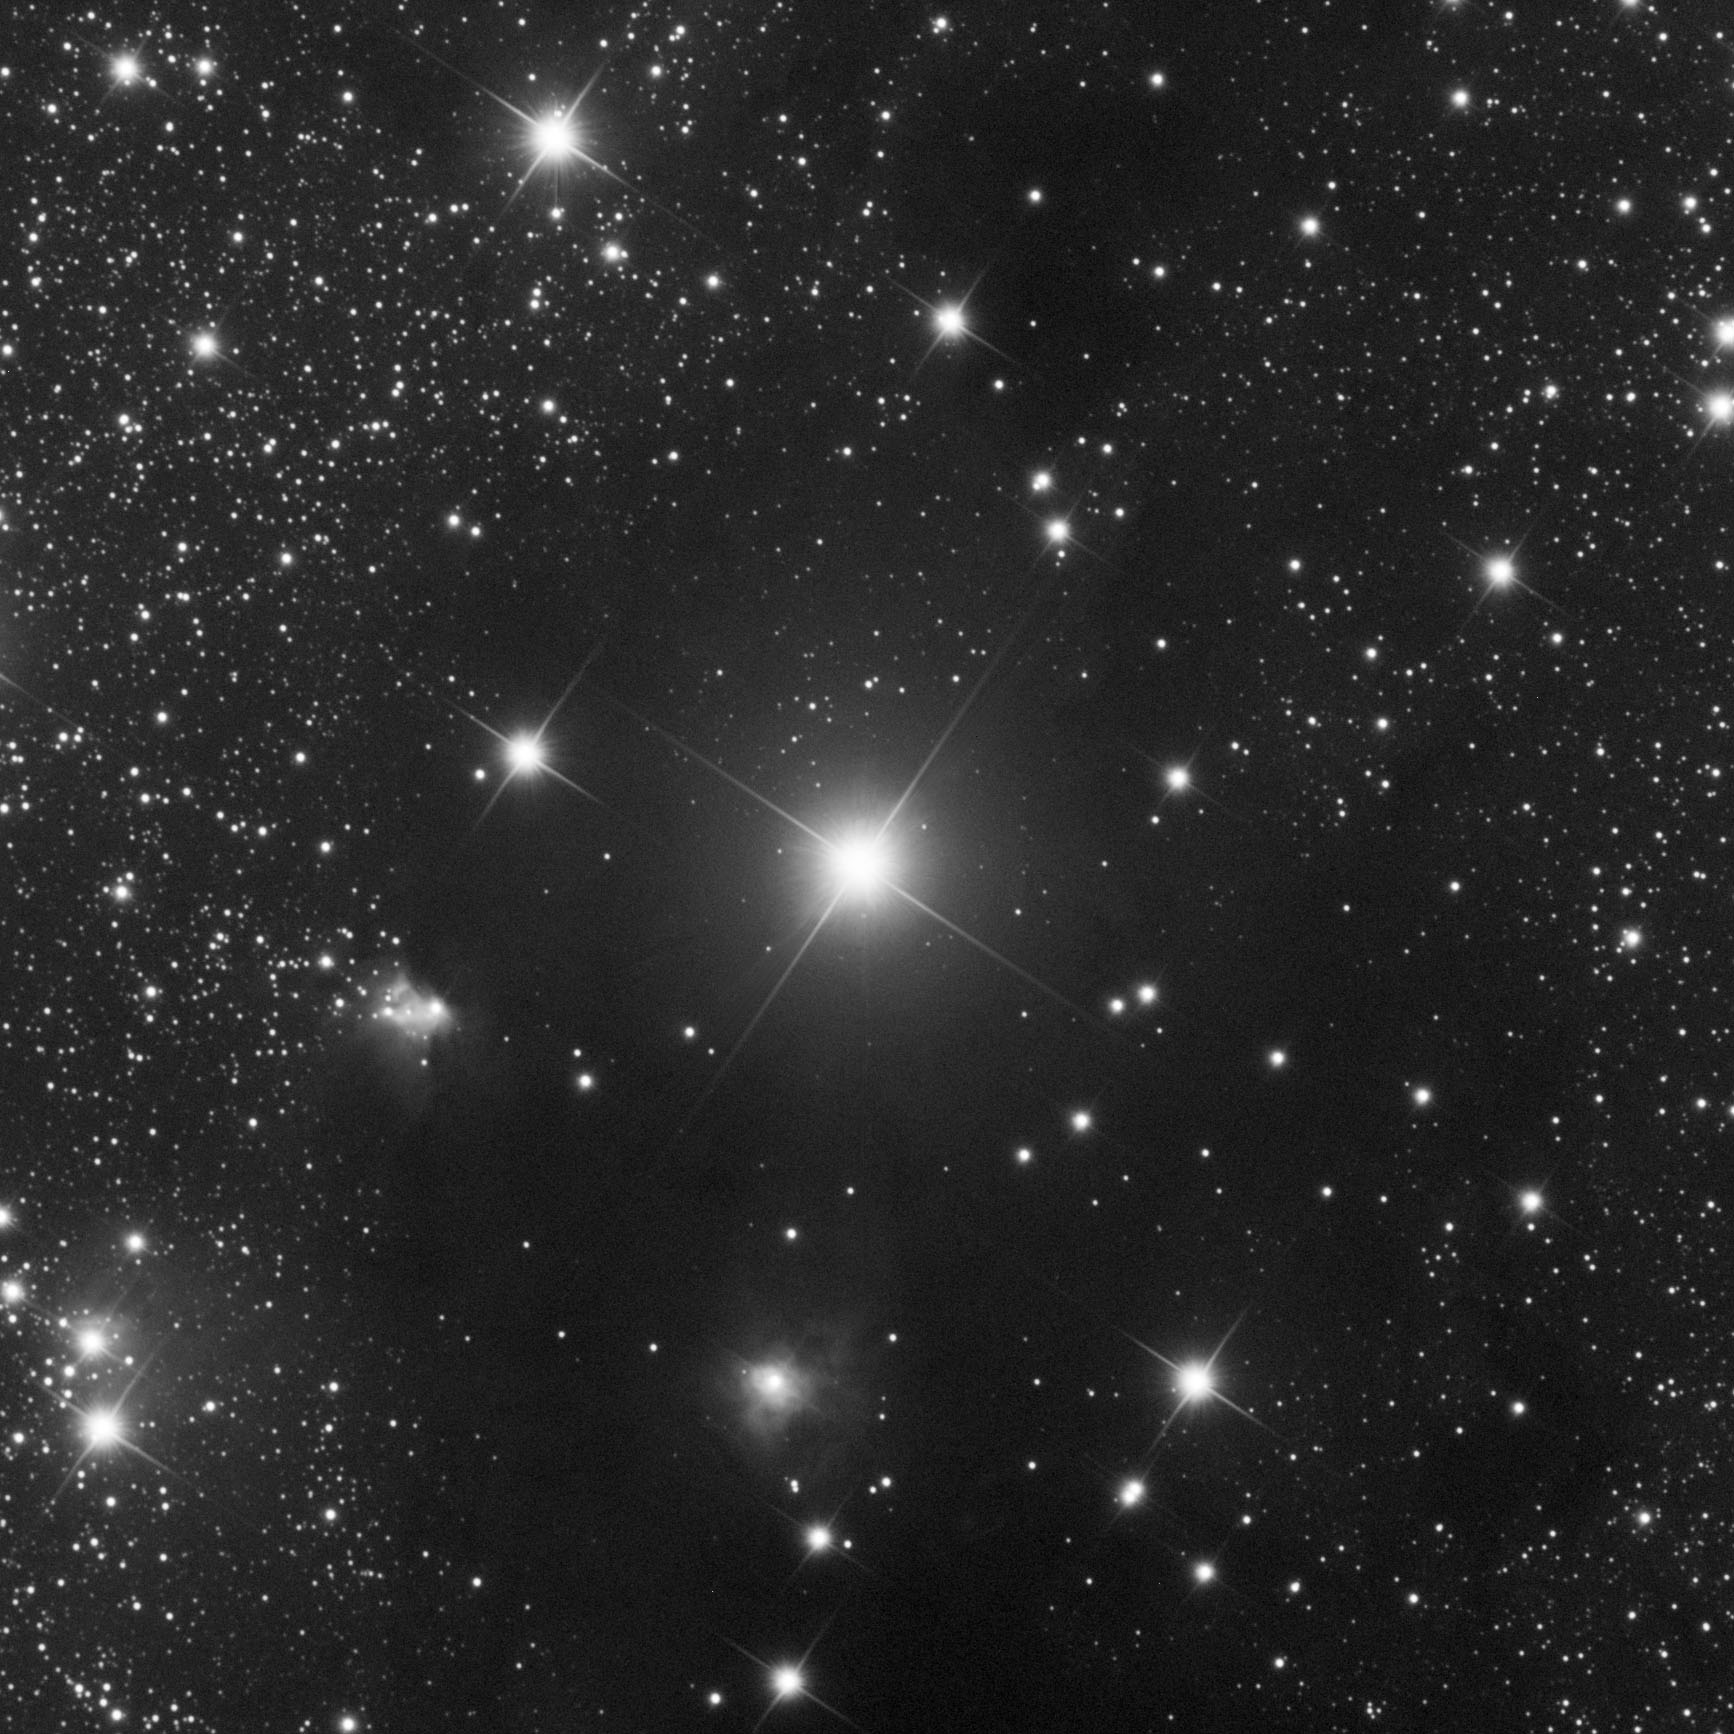
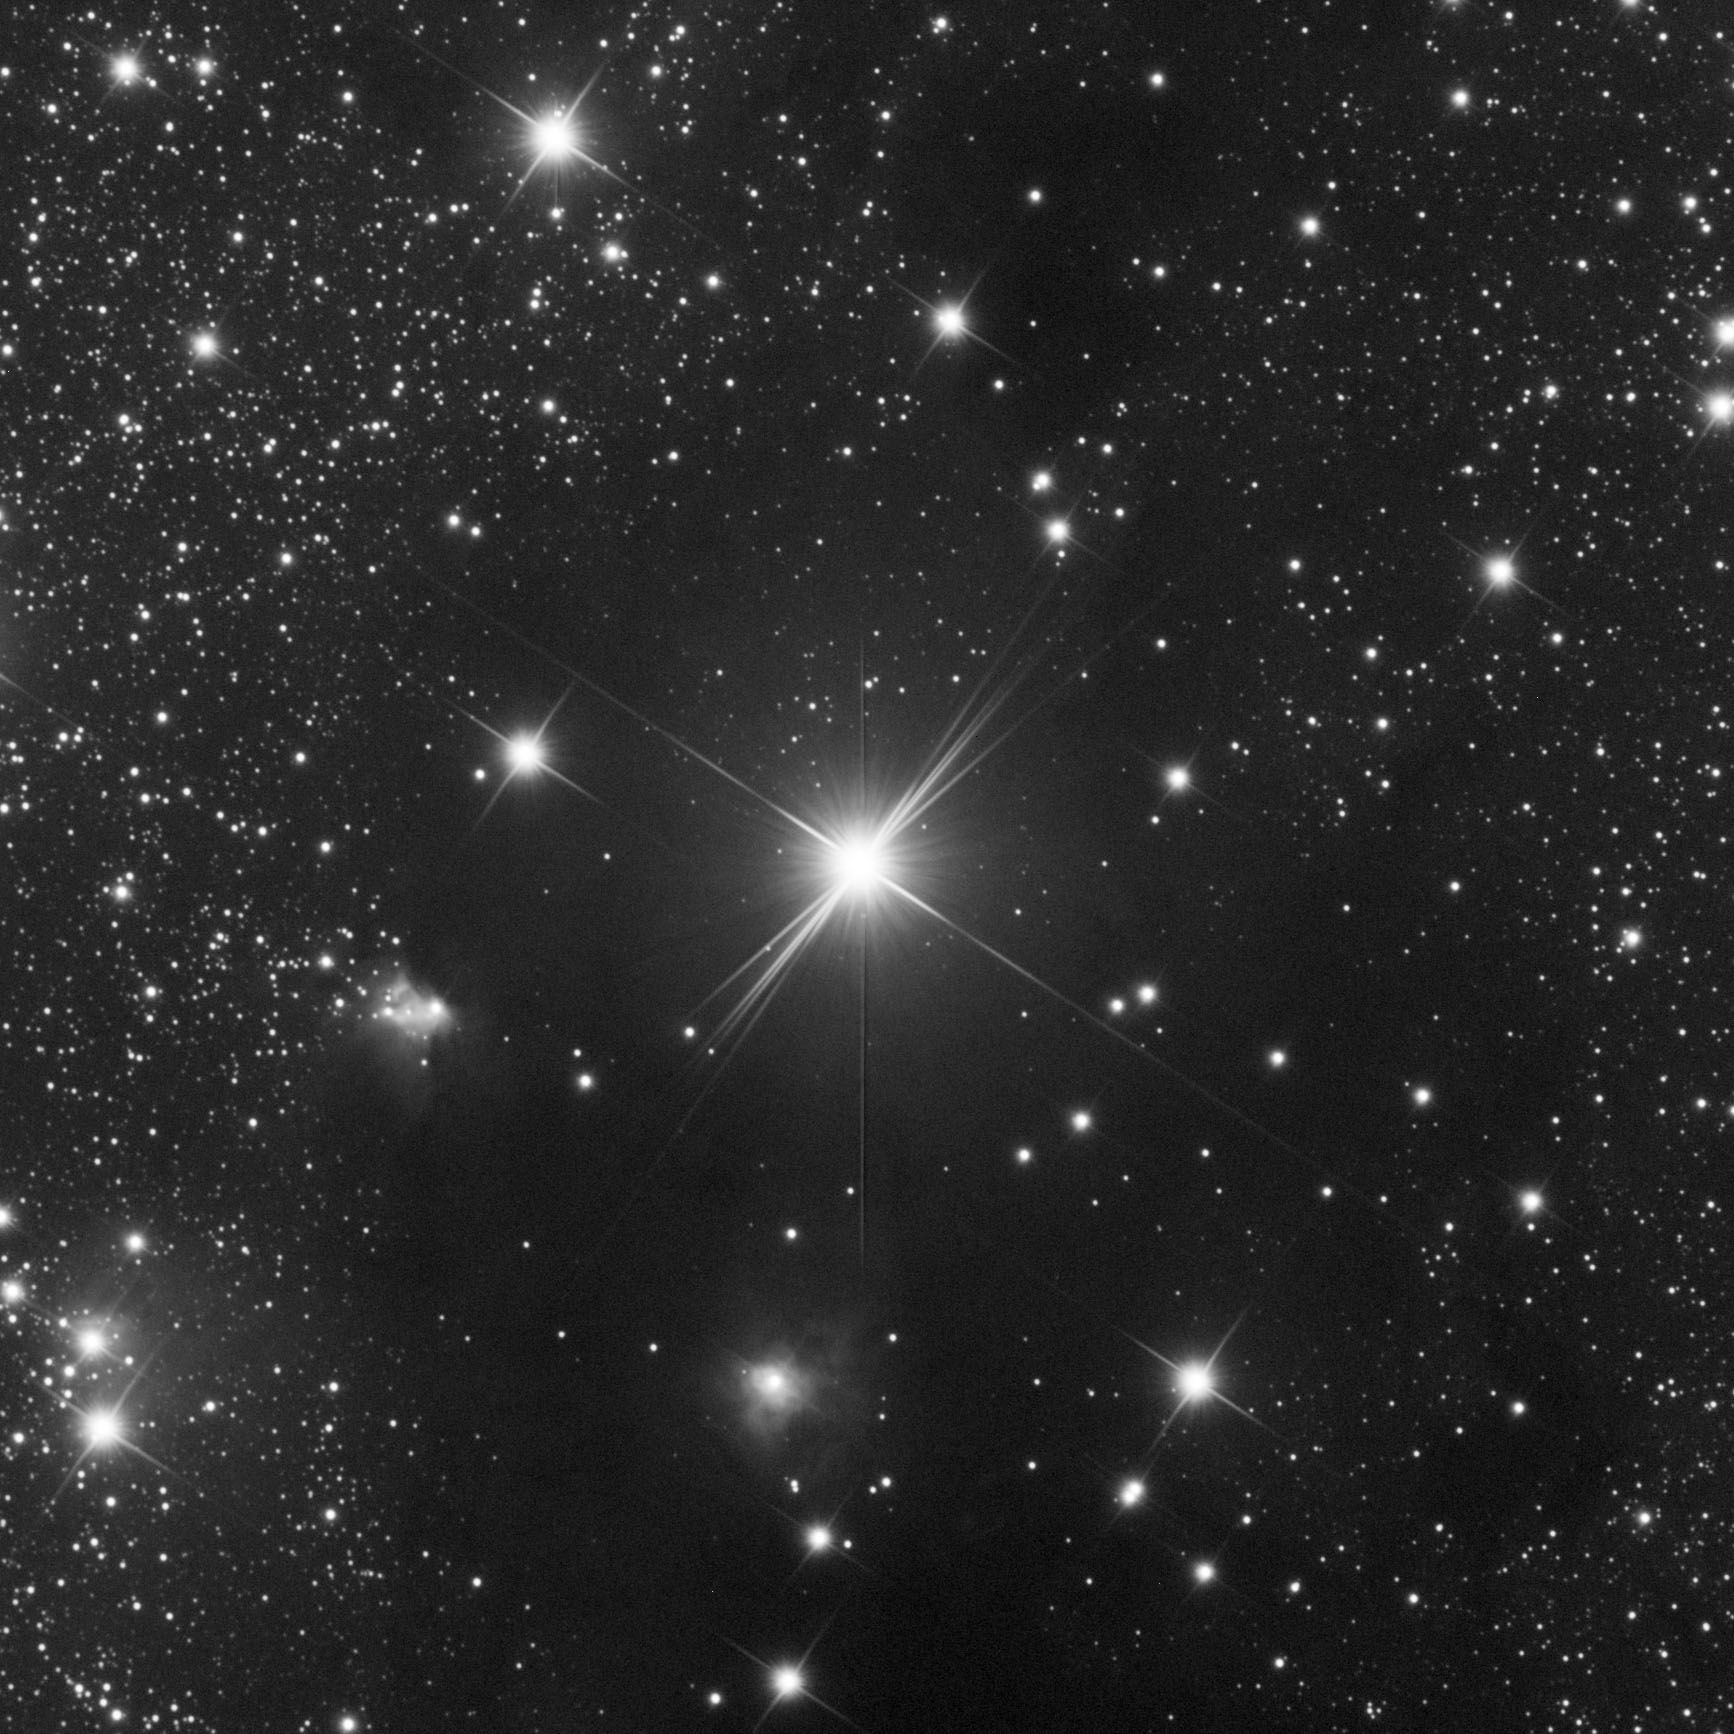
SpikelessAI targets diffraction spikes directly, without touching the rest of the frame. It works on both stretched images and linear data through an automatic virtual-stretch workflow, giving you a cleaner, more natural result without manually repairing spike artifacts star by star.

  • AI-trained diffraction spike removal
  • Preserves natural star cores, halos, and color
  • Preserves background detail, nebulae, and galaxies
  • Works on stretched or linear data via automatic virtual-stretch
  • Optional star layer (StarXTerminator or StarNet2) keeps edits confined to stars only
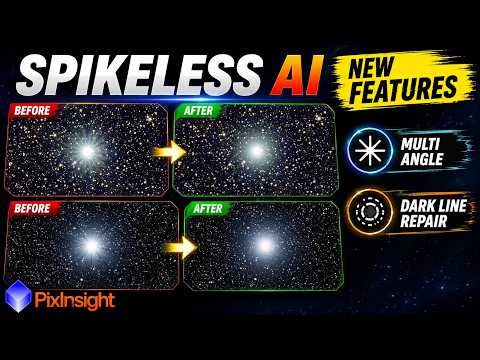
  • Multi-angle removal for spike patterns beyond the standard four-ray cross
SpikelessAI is a paid module. Buy it on Ko-fi, then use the repository link below to install and activate it in PixInsight.
Buy on Ko-fi

After installing, you will find it in PixInsight under Processes > ImageRestoration. If you are unfamiliar what this means, or need help buying and activating it, click on this link.

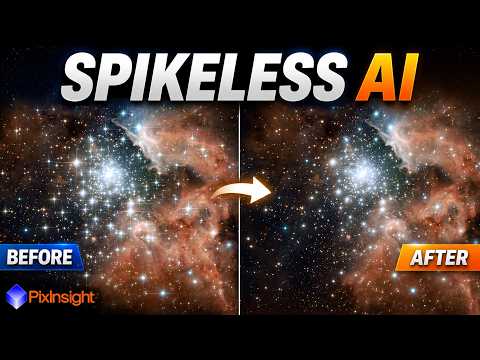
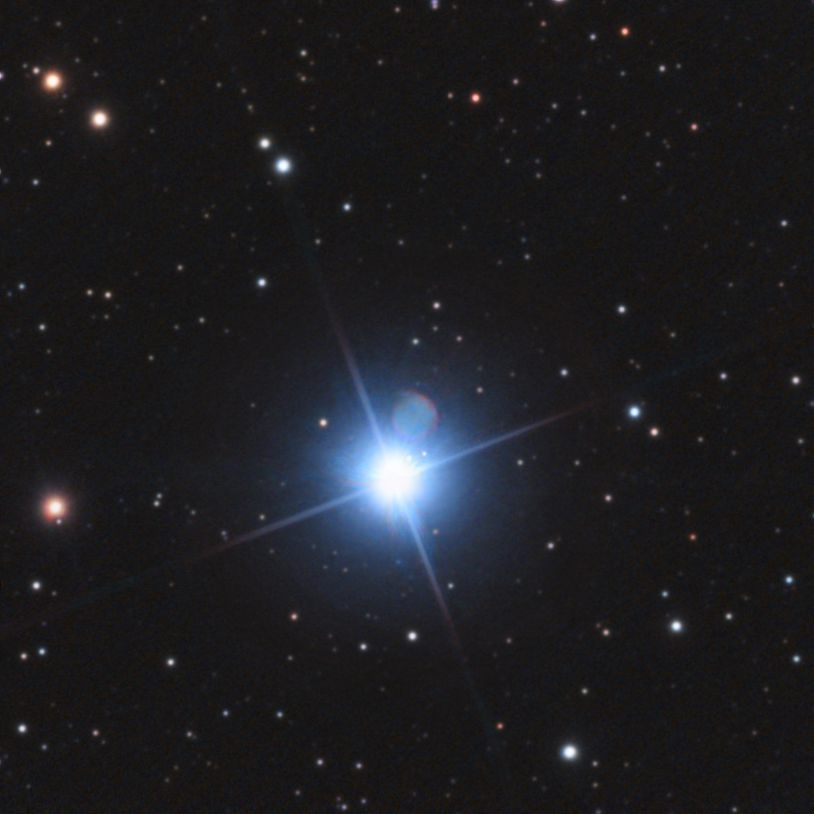
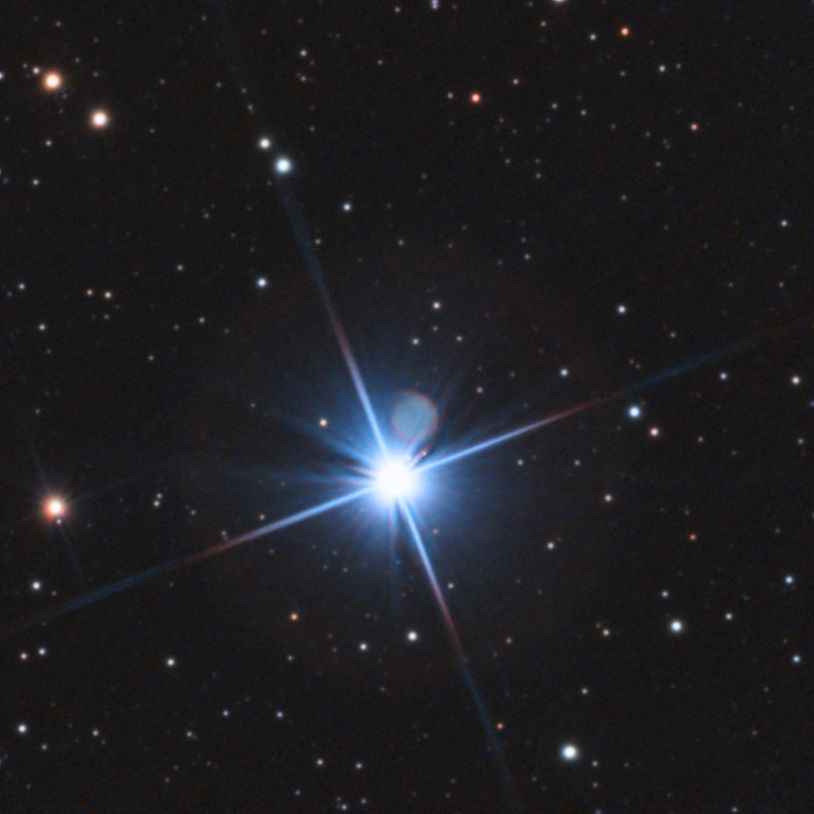
SpikelessAI example result 1: diffraction spikes removed from stars
SpikelessAI example result 2
SpikelessAI example result 3
SpikelessAI example result 4
SpikelessAI example result 5
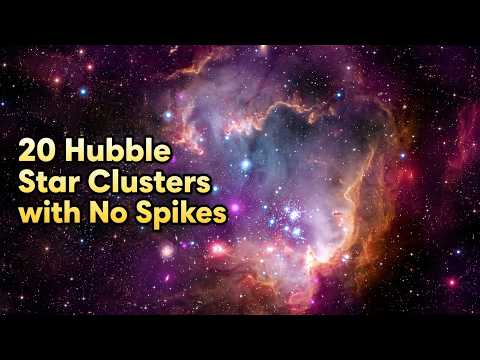
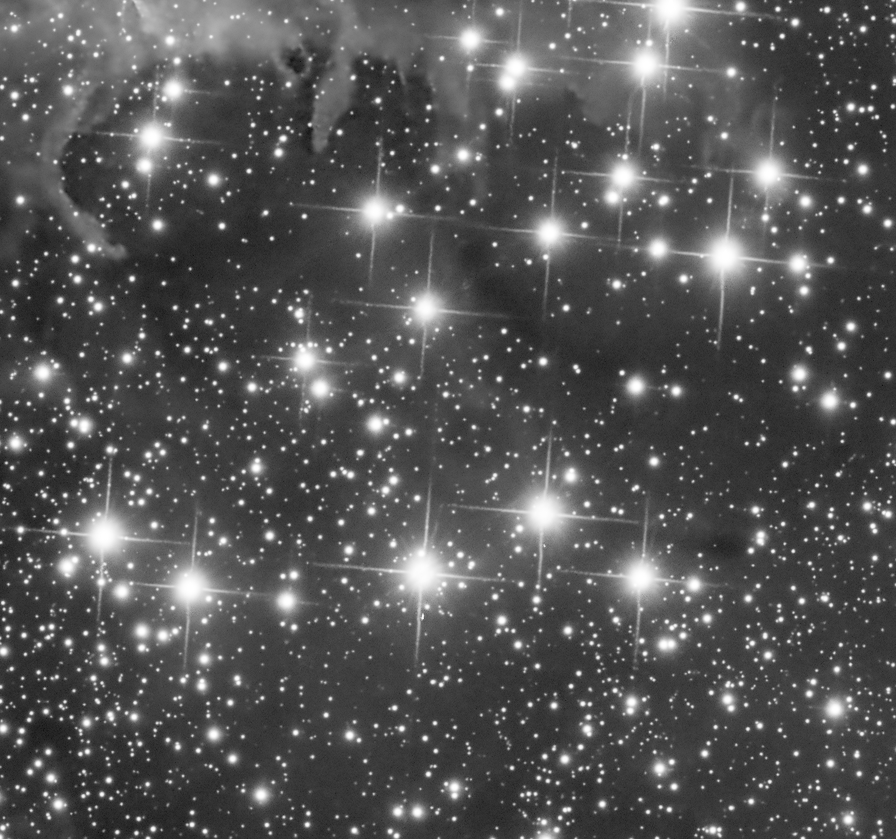
SpikelessAI before/after examples

FAQ

Common questions about diffraction spikes

What causes diffraction spikes on stars?

Diffraction spikes appear when starlight passes the support struts (the "spider") holding the secondary mirror in a reflector telescope, such as a Newtonian or Ritchey-Chrétien design. Refractors and many catadioptric telescopes without a strut-mounted secondary don't produce this pattern.

Does SpikelessAI work with Newtonian and other reflector telescopes?

Yes. SpikelessAI is trained specifically to reduce the spike structure produced by reflector telescope designs, while preserving natural star cores, halos, and color.

Will SpikelessAI affect the rest of my image?

No. SpikelessAI targets diffraction spikes directly, without touching background detail, nebulae, or galaxies elsewhere in the frame.

Does SpikelessAI work on linear (unstretched) data?

Yes. SpikelessAI works on both already-stretched images and linear data, using an automatic virtual-stretch workflow so results look consistent either way.

Can SpikelessAI keep edits confined to stars only?

Yes, with the optional star layer mode. It separates stars onto their own layer using StarXTerminator, StarNet2, or automatic detection, removes spikes there, then recombines the frame. Since that layer holds no nebulosity or background, nothing outside the stars can be altered.

Does SpikelessAI handle spike patterns other than the standard four-ray cross?

Yes, with multi-angle removal enabled. SpikelessAI measures every spike axis in the frame and rotates each one into position for the model to process, then merges the results, handling off-angle patterns and multi-ray star bursts like those from camera lenses.

Process module

Dodge & Burn

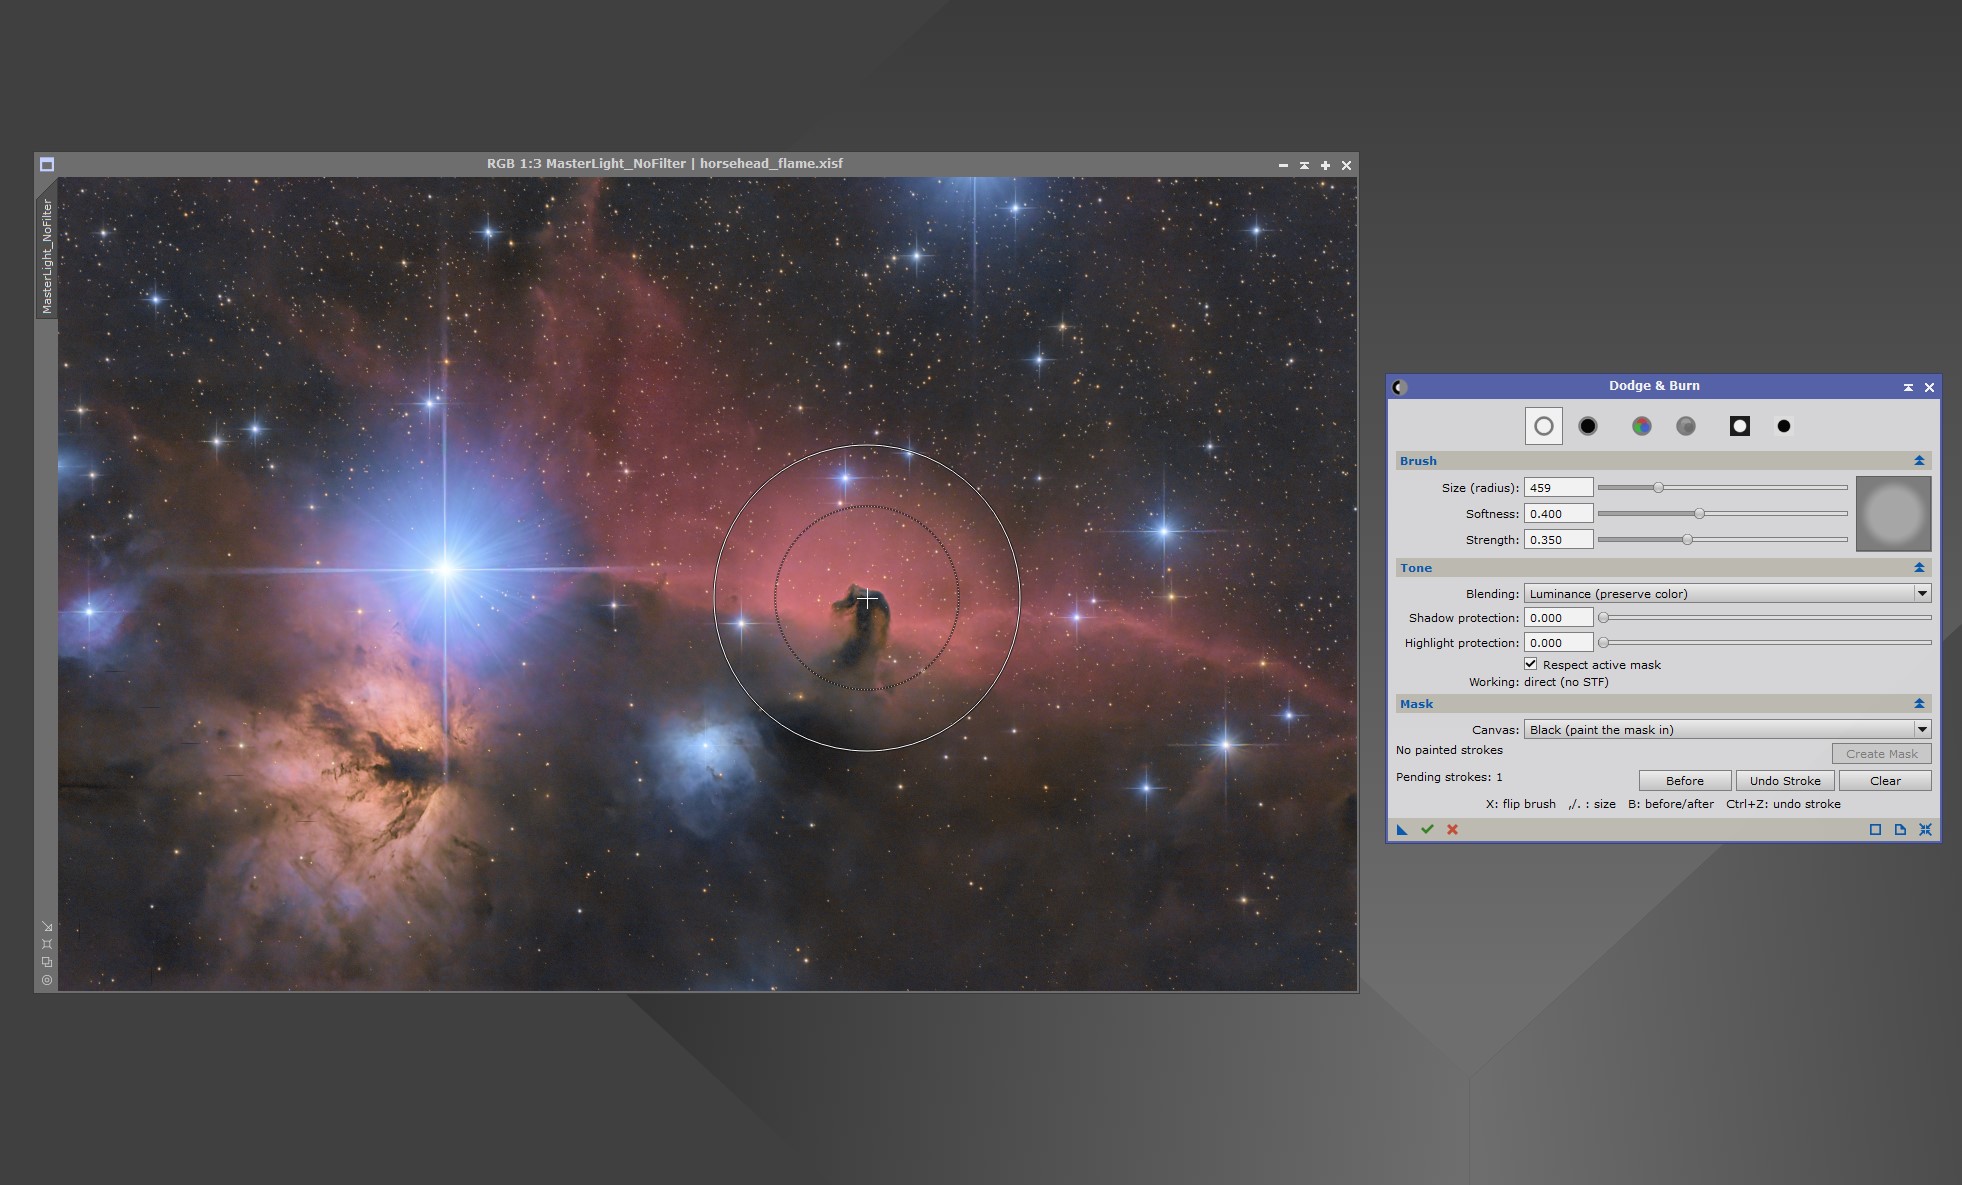
Dodge & Burn is a dynamic painting tool for local tonal and chromatic adjustments, and for masks painted by hand. Strokes are laid down directly on the image with the pointer, in the manner of the CloneStamp tool.

pixinsight process module local retouching

Hand-painted dodge, burn, and masking with six brushes.

Dodge and Burn reproduce the soft light blend against a 50% gray layer, working through the view's screen transfer function on linear data so a stroke behaves the way it looks. Saturate and Desaturate scale chroma about the luma axis, preserving hue and brightness. Paint white and Paint black never touch image pixels, they build a mask on a separate canvas instead, delivered as a new grayscale image matching the target.

  • Six brushes: Dodge, Burn, Saturate, Desaturate, Paint white, Paint black
  • Adjustable brush size, edge softness, and strength
  • Shadow and highlight protection, with optional masking by the active mask
  • Shortcuts for flipping, resizing, straight lines, and before/after comparison
  • Undo strokes individually; Execute commits the session as one history entry

After installing, you will find it in PixInsight under Processes > IntensityTransformation. If you are unfamiliar what this means click on this link.
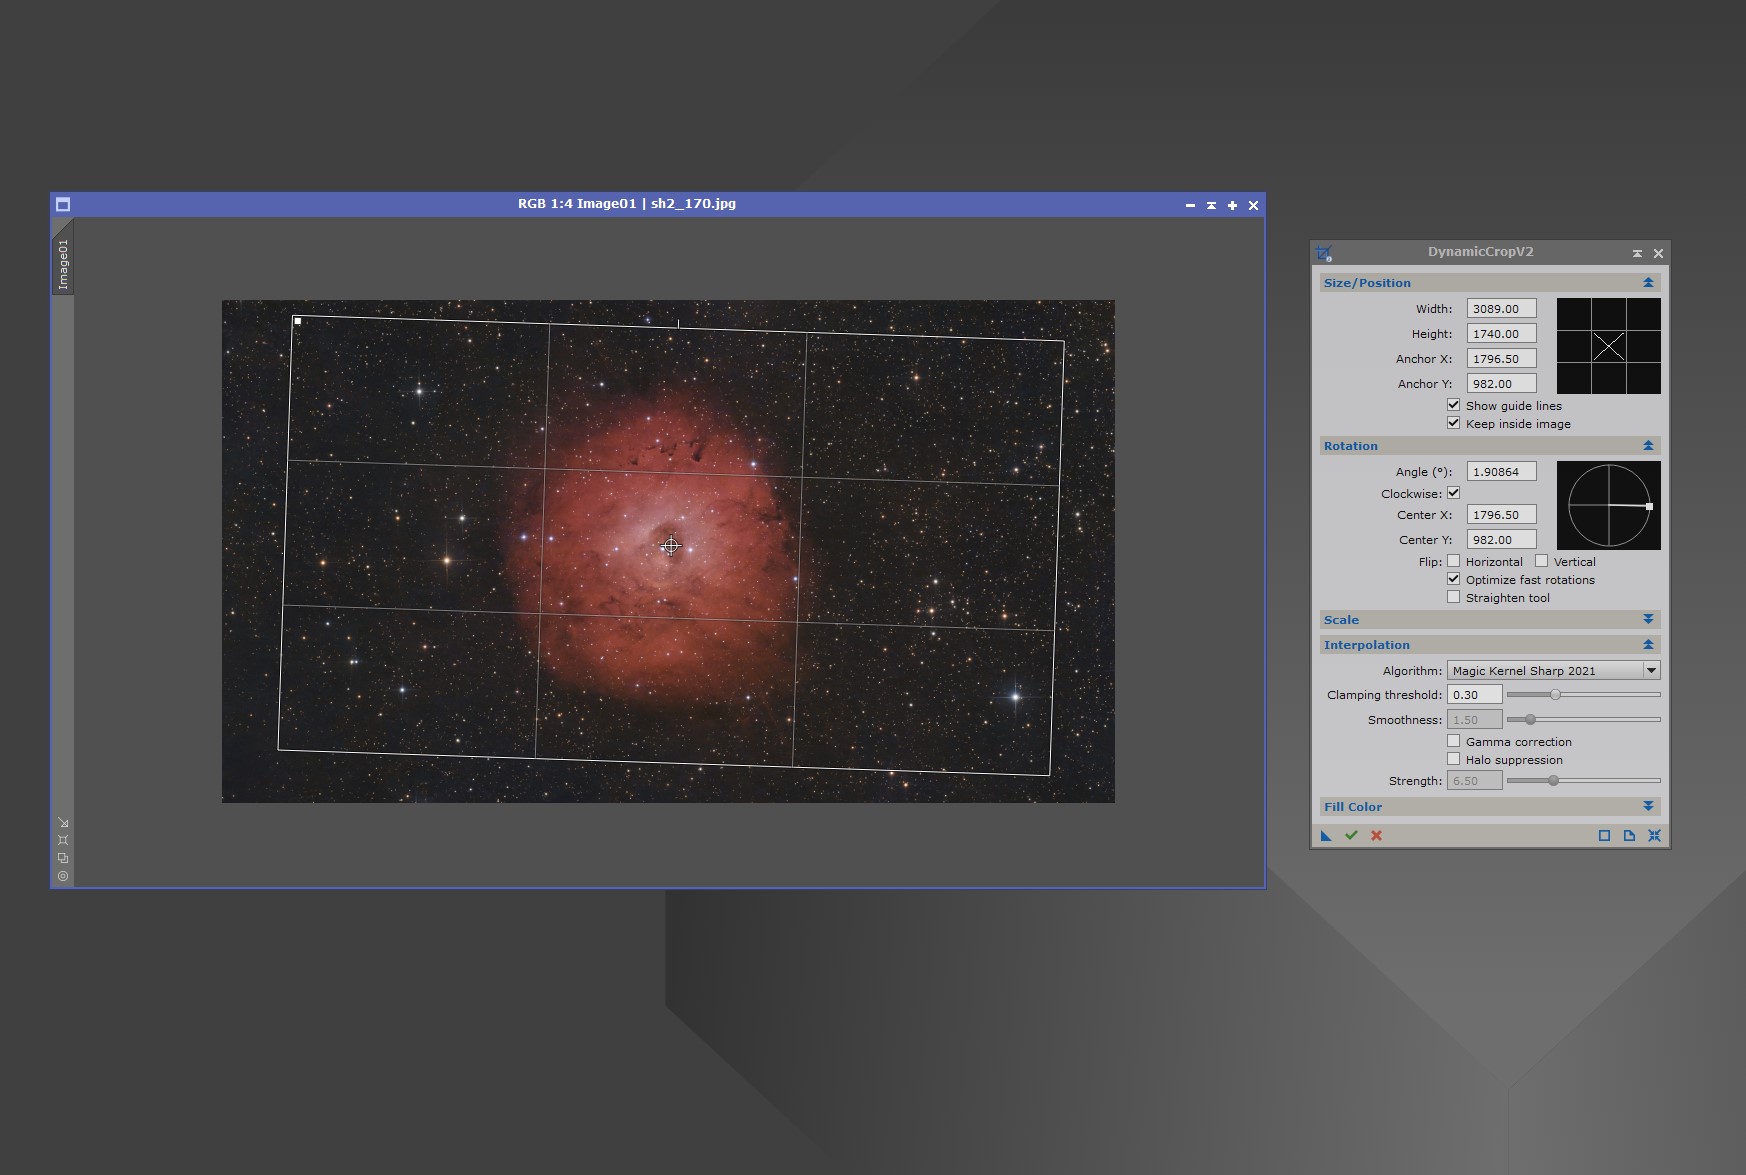
Dodge and Burn PixInsight process module interface with brush controls for local tonal and chromatic adjustments
Dodge & Burn interface preview

Learn

Educational Tutorials

Enhance your editing skills and learn to process your own astrophotography images in PixInsight: building workflows for any target, fixing complex artifacts, gradient removal strategies, using my own tools, and more.

Whether your data comes from a Seestar S50, Seestar S30, Celestron Origin, Vaonis Vespera, Unistellar, DWARF, or a full dedicated imaging rig, these tutorials will help you get more out of it.

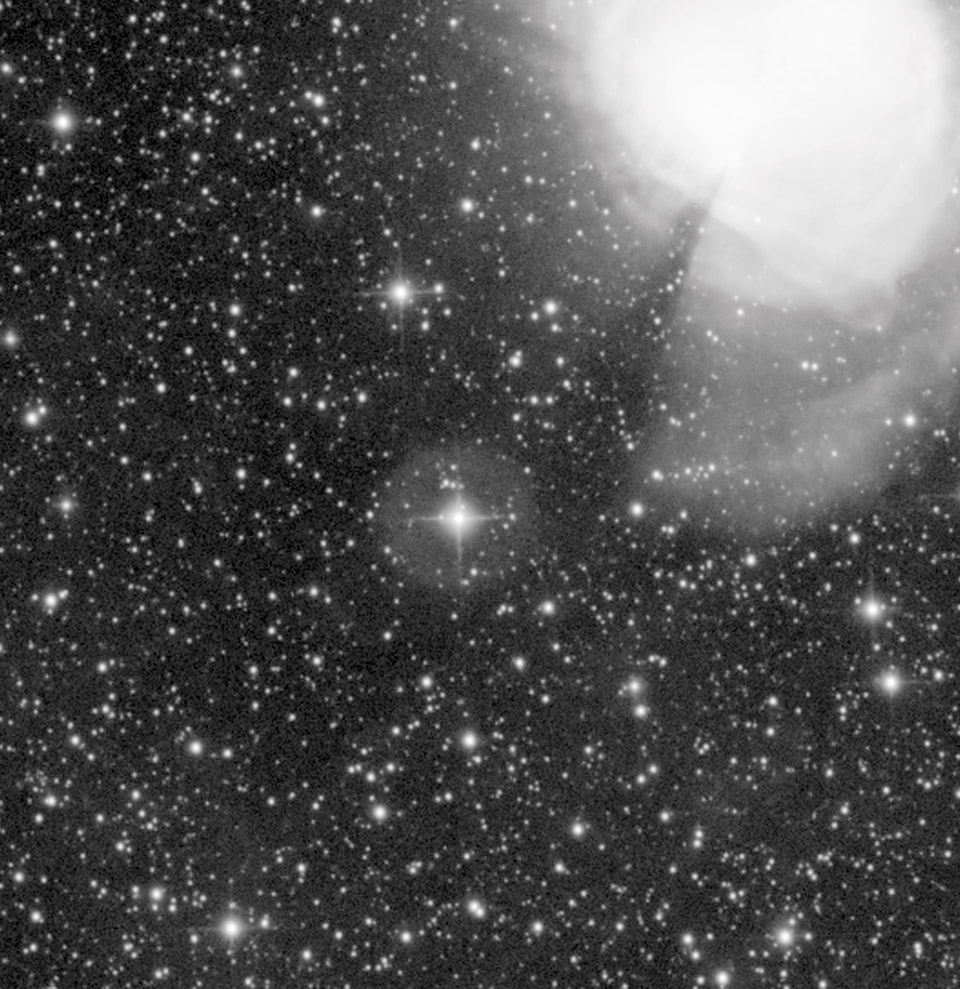
Fixing a problem star in PixInsight

Repairing a bright, difficult star while preserving the faint object beside it, combining SpikelessAI's Dark Line Repair, PixelMath, and manual Dodge & Burn to fix dark artifacts, uneven brightness, saturation issues, and a strong stellar halo. The diffraction spikes are removed for easier editing, then restored at the end to keep the star's natural appearance.

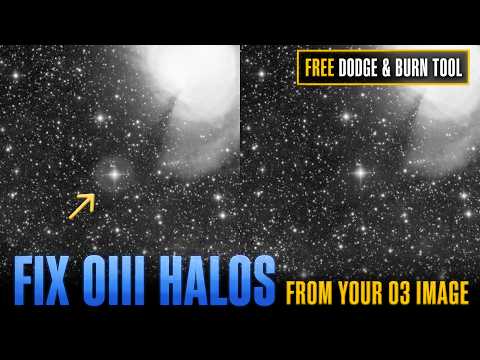
Taming a bright star halo

Using Dodge & Burn to reduce a bright, distracting stellar halo, softening its brightness and blending it back into the surrounding field without losing the star's natural look.
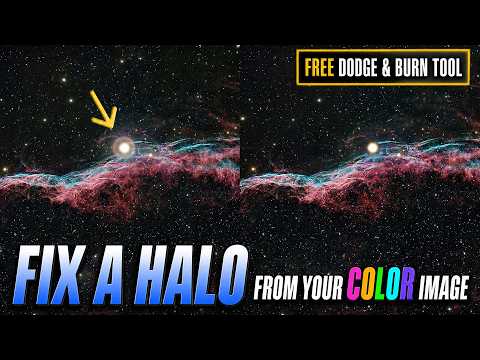
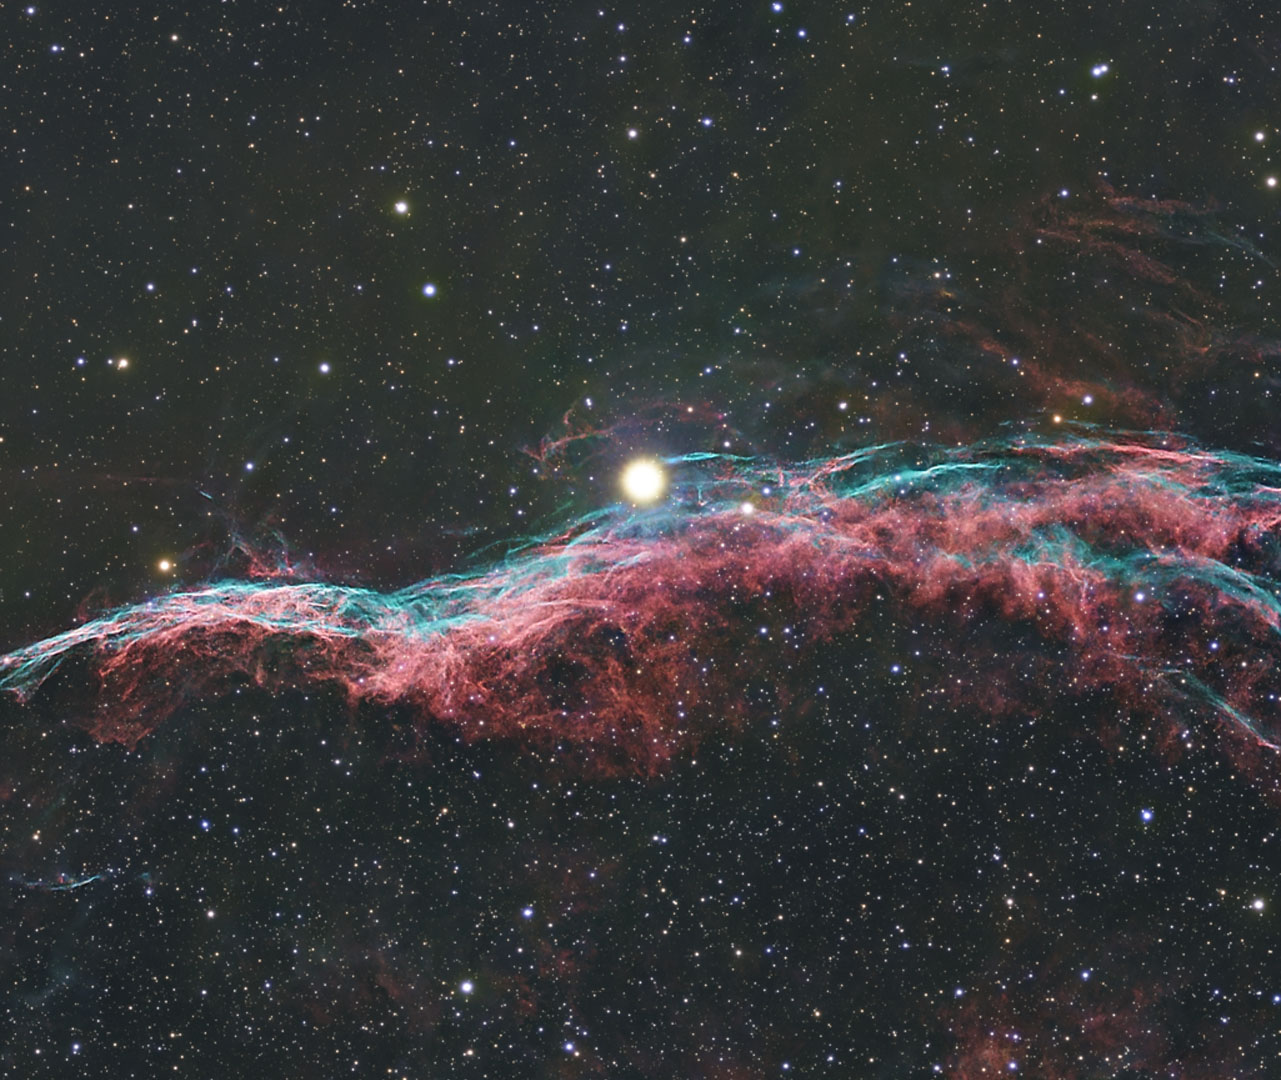
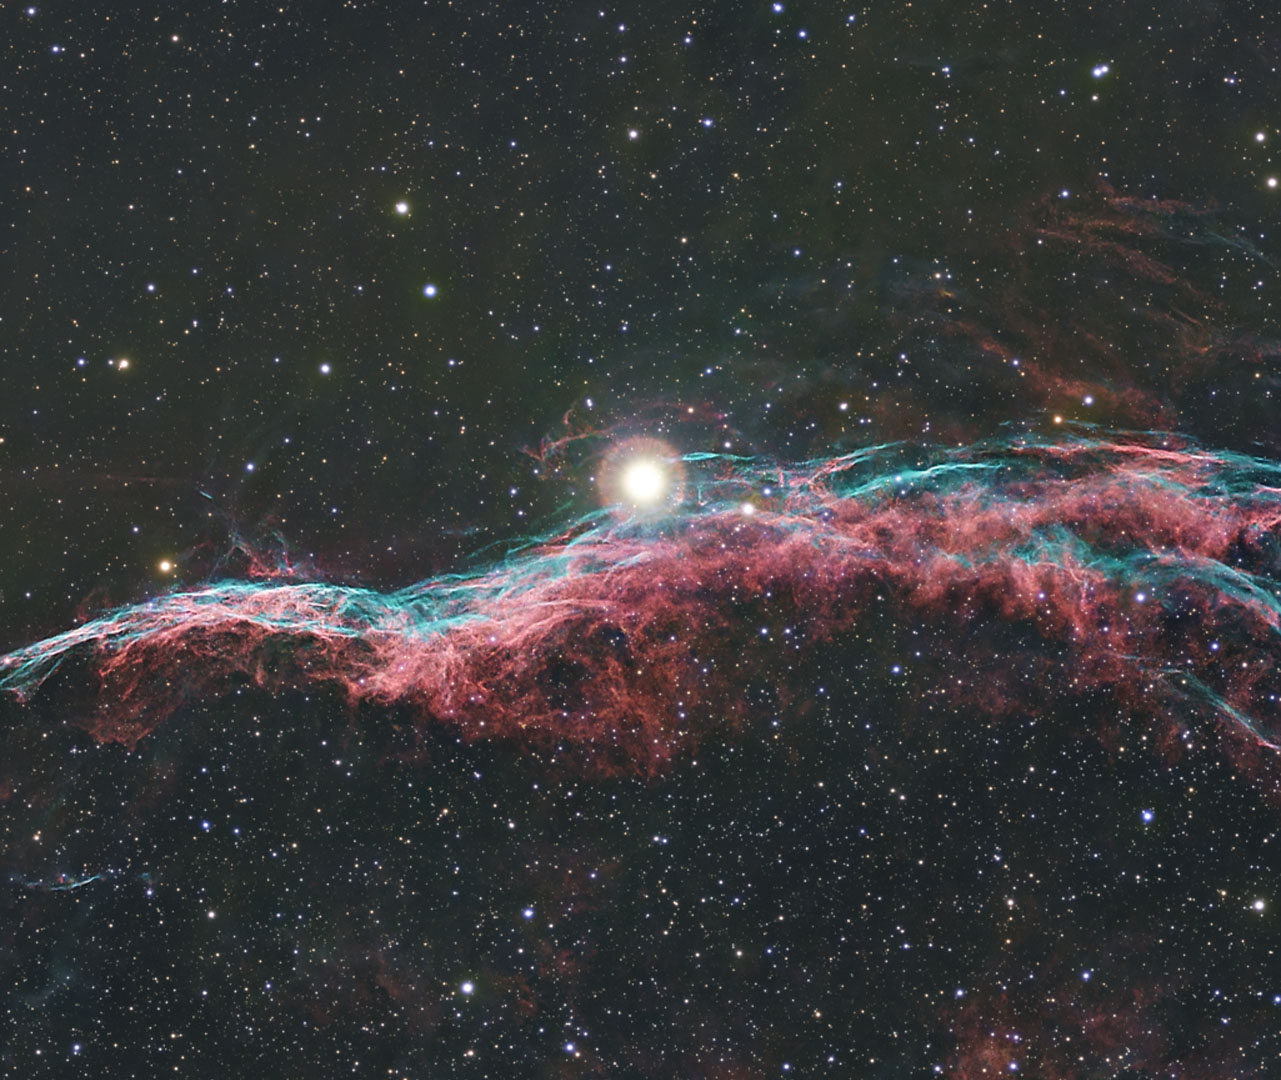
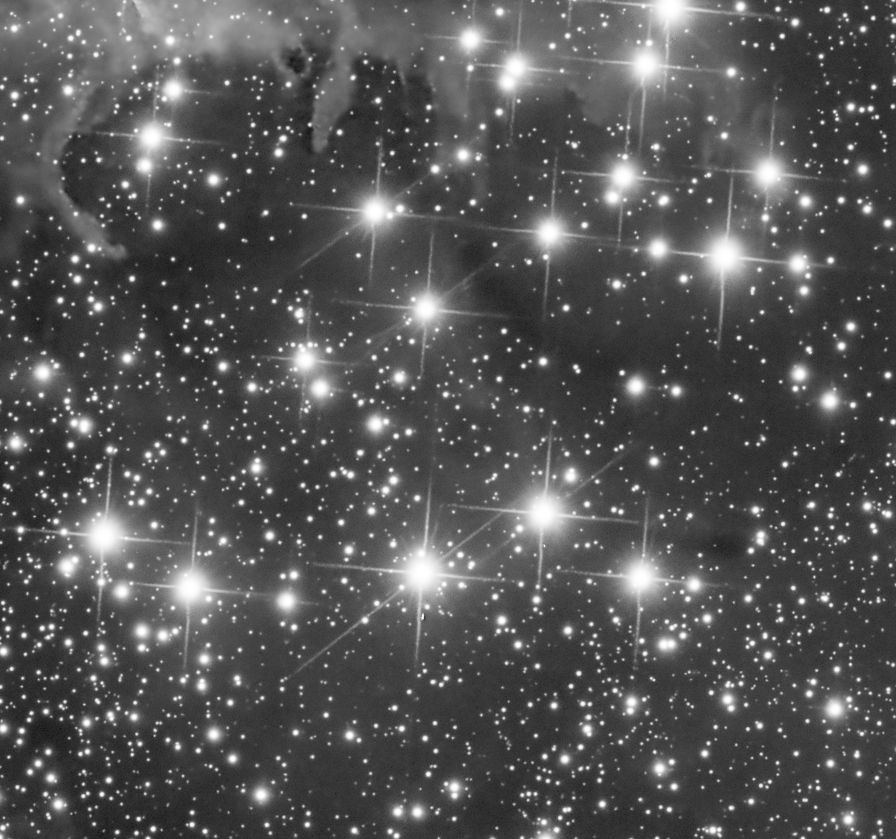
Fixing a star halo on the Veil Nebula

Data courtesy of Quinton Mcwhorter

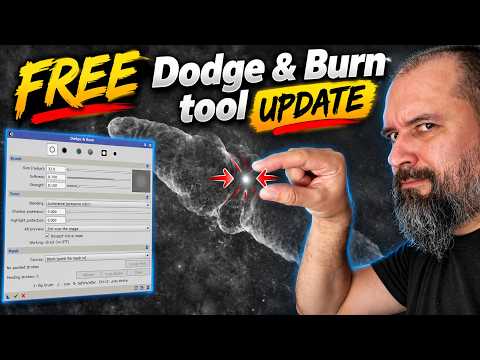
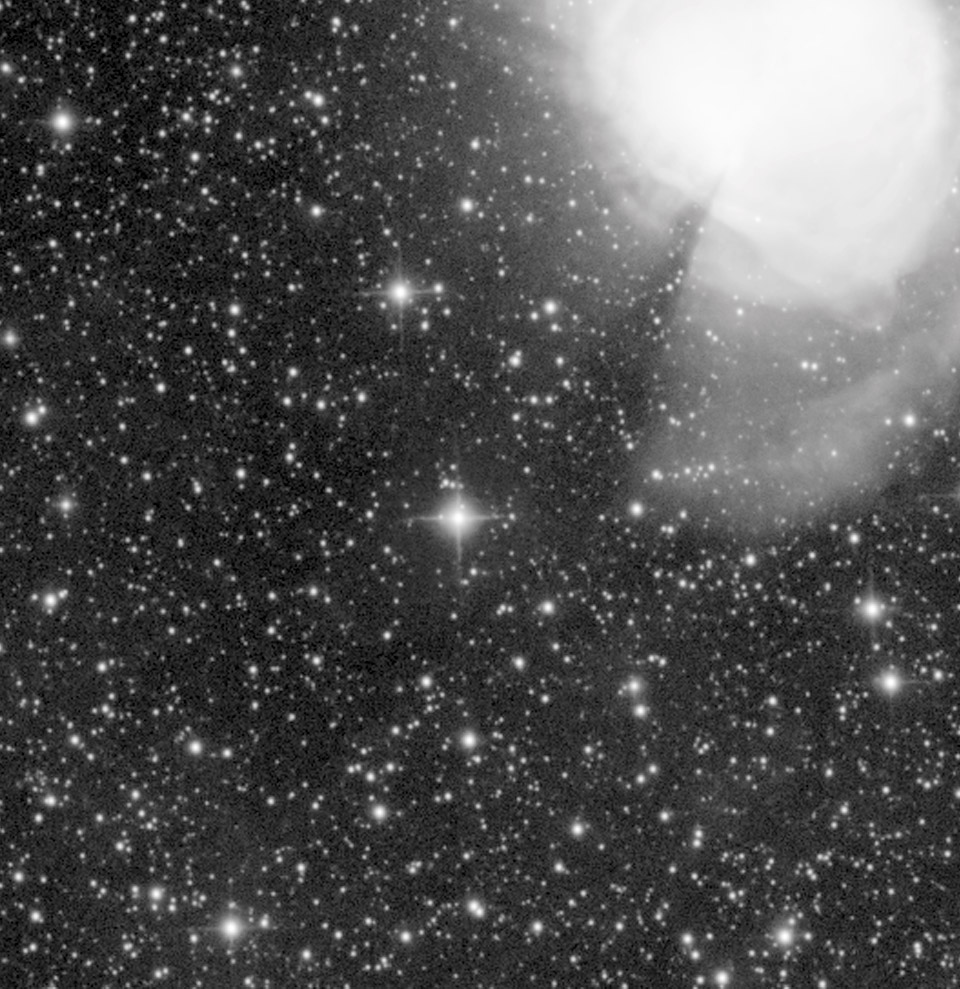
Using the free Dodge & Burn module to fix a halo on 52 Cygni, the bright star on the Veil Nebula (the Witch's Broom).
  • How to prepare and inspect the problematic halo
  • How the Dodge & Burn module process works
  • How to deal with a halo on a color image
Full Workflow

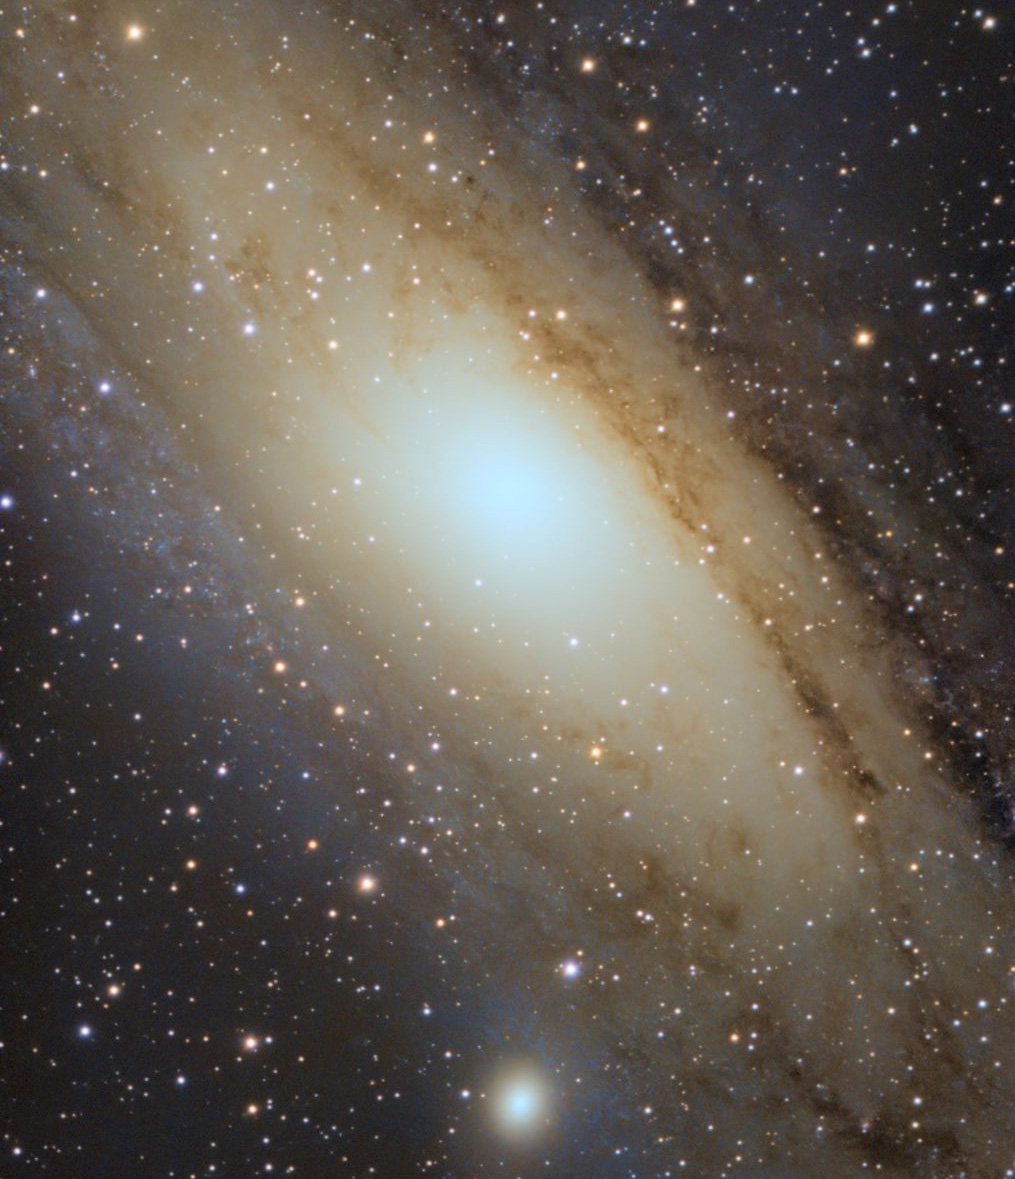
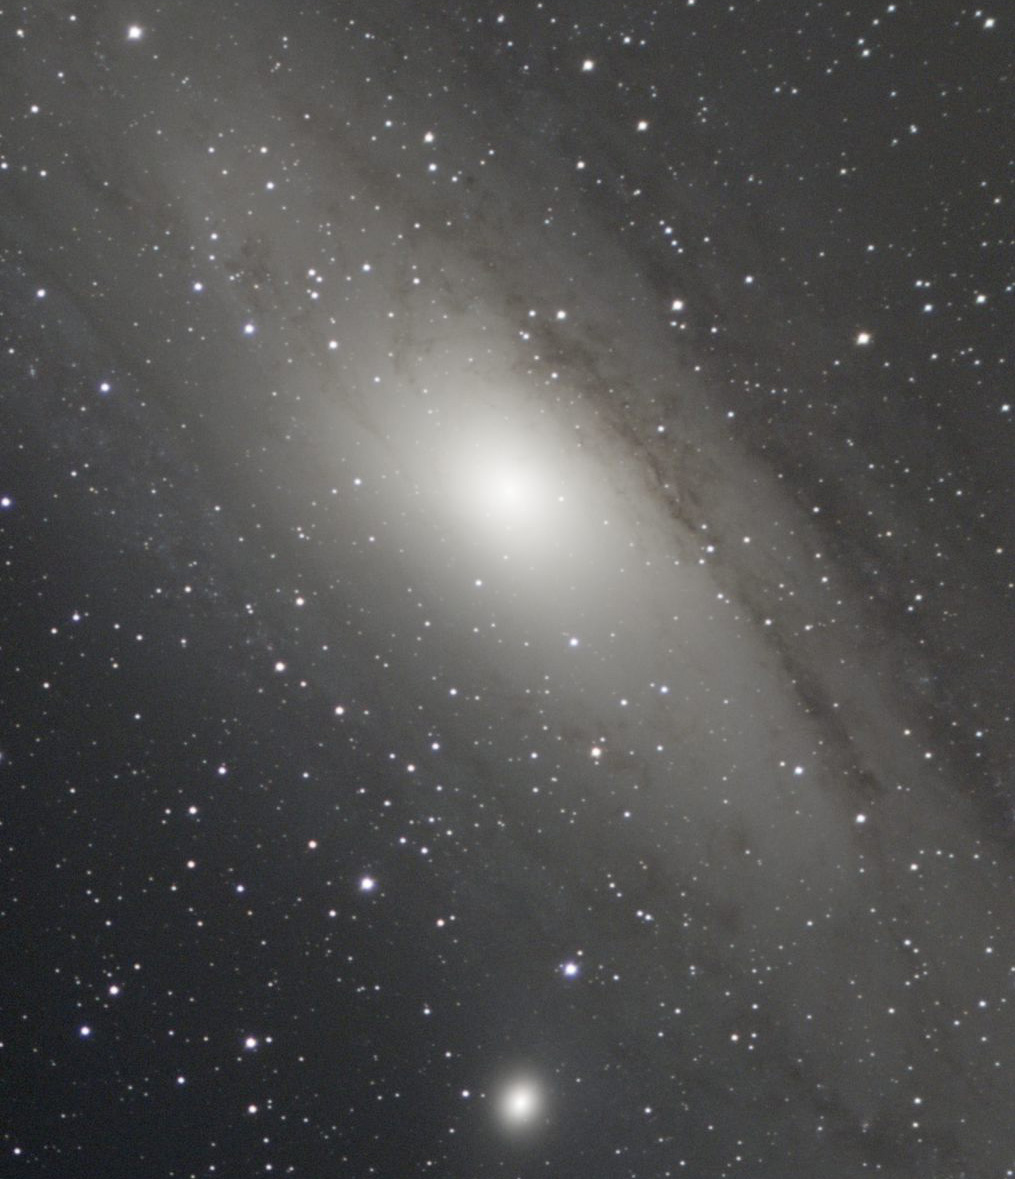
Processing M31 from scratch in PixInsight

Data courtesy of Mark Wilson

A beginner-friendly, start-to-finish walkthrough of processing the Andromeda Galaxy, relying mostly on PixInsight's built-in tools, making this the perfect place to start without any confusion.

  • How to inspect linear data, use ScreenTransferFunction, crop edge artifacts
  • Gradient removal: when to use the standard GradientCorrection vs. MultiscaleGradientCorrection
  • Color calibration: the differences between PCC and SPCC for accurate star and galaxy colors
  • Stretching: how to bring out galaxy detail using MultiscaleAdaptiveStretch
  • Separating stars, editing the starless galaxy and stars independently
  • Final polish and troubleshooting: quick white balance fixes, noise reduction, and creative color grading

Support development

Help keep the scripts moving forward

Small donations and ongoing support make it easier to test, polish, and improve the tools.

Buy me a coffee One-time support through Buy Me a Coffee or Ko-fi.
Join my Patreon Follow progress and support future updates. Patreon